Getting Started with Alteryx Analytics Cloud
This section applies to getting started with Alteryx Analytics Cloud (AAC). Workspace administrators should complete the following steps to set up the workspace, enable applications, and invite users.
Setup Process
Register. Complete the simple online task to license and create your AAC workspace.
Workspace setup. Before you invite other users to your workspace, you should complete a few setup steps.
Invite users. If you intend to share the workspace with other users, you can invite them from within it.
Wrangle away!
Tip
Remember you can contact Alteryx Support if you need assistance.
Before You Begin
Allowlist the AAC Email Domain
Allowlist these AAC email domains to guarantee users receive email notifications:
no-reply@mail.alteryxcloud.com
no-reply@myalteryx.alteryx.com
Allowlist the IP Address Range of the Alteryx Service
Before you begin creating connections to your relational sources, you must allowlist the IP address range of the Alteryx Service in the relevant security groups.
Note
The database to which you are connecting must be available from the Alteryx Service over the public Internet.
Note
On the database server for each relational source type (Oracle, SQL Server, etc.), you must allowlist these IP addresses.
For AAC
These are the IP addresses you must add to your allowlist...
Region | Location | IP Address |
|---|---|---|
US (us1) | Oregon, US |
|
EMEA (eu1) | Frankfurt, Germany |
|
APAC (au1) | Syndey, Australia |
|
For Redshift
For Redshift, there are two ways to allowlist the IP range depending on if you are using EC2-VPC or EC2-Classic (not common).
EC2-VPC (Security group): Add the IP address range to the inbound rule for the security group associated with the cluster. For more information, see https://docs.aws.amazon.com/redshift/latest/gsg/rs-gsg-authorize-cluster-access.html#rs-gsg-how-to-authorize-access-vpc-security-group.
EC2-Classic: Add the IP address range to the inbound rule for the security group associated with the EC2 instance. For more information, see https://docs.aws.amazon.com/redshift/latest/gsg/rs-gsg-authorize-cluster-access.html#rs-gsg-how-to-authorize-access-cluster-security-group.
For details on this process with RDS in general, see https://docs.aws.amazon.com/AmazonRDS/latest/UserGuide/Overview.RDSSecurityGroups.html
For more information, please contact Alteryx Support.
Sign In to AAC
After you have completed registration, you must verify your email address. After verification, sign in to the application. Sign in to your workspace to access AAC. In AAC, you can access all of your licensed applications.
Go to the sign in page.
Enter the email address that you used to register for your workspace.
Enter your password.
Select Sign In.
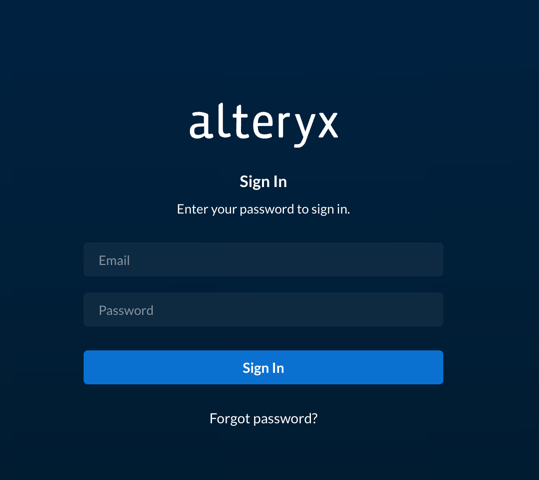
Figure: SIgn in screen
Workspace Setup
Note
If you need to create new workspaces, please contact your Alteryx representative.
Review Workspace Settings
As the first registered user, you are assigned the workspace admin role, which provides control over workspace-level settings. Before you invite users to the workspace, you should review and modify the basic configuration for the workspace. For more information, see Workspace Settings Page.
Verify Operations
Note
Workspace administrators should complete the following steps to verify that the product is operational end-to-end.
After you have applied a configuration change to the platform and restarted, you can use the following steps to verify that AAC is working correctly.
Enable Applications
When your workspace is provisioned, all licensed applications are available from the App Switcher in AAC.
Note
To access an application, each user must be provisioned an application-specific role. More information is provided below.
For more information, see App Switcher.
Invite Users
Warning
All workspace users must be assigned roles in order to access the platform and applications.
Invite users to your workspace. If you intend to share the workspace with other users, you can invite them from within it. You must assign each user an application-specific roles.
Note
First-time users of the product should access it by invitation only. Don't provide direct URLs to first-time users.
To invite other people to join your workspace, select Workspace Admin from the upper-right Profile menu.
In the Admin Console, select Users.
On the Users page, you can see the invited users or users who are members of your workspace. Select Invite users.
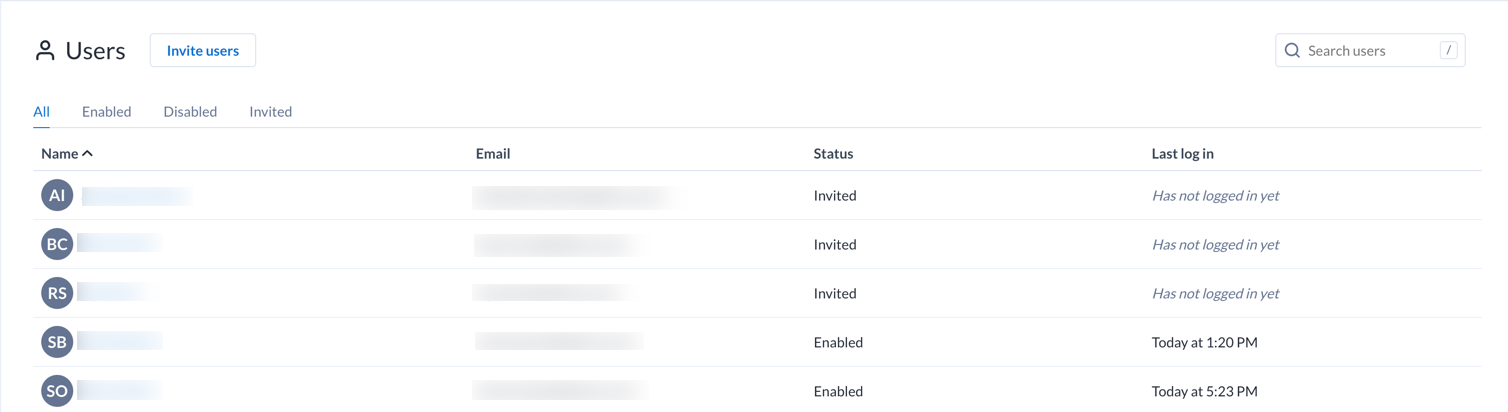
Figure: Users page
Enter a comma-separated list of the email addresses of the users you want to invite to your workspace. Select Invite users to send an invitation email.
For more information, see Users Page.
Assign roles
When you initially invite users to your workspace, they are assigned a default, non-admin role. You might want to change the role or roles assigned to their account.
Note
To access a specific application, you must assign a designated role to each user.
In the Users page, locate the user to assign new roles.
From the context menu on the right side of the user's entry, select Edit.
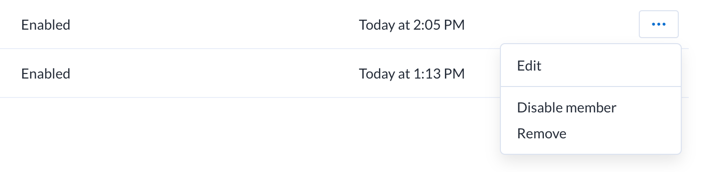
Figure: Select Edit from the context menu
Note
The default role permits a user to access the workspace. Access to higher-level operations or applications hosted in the platform is governed by assigning additional roles to the user's account.
In the Edit user dialog, you can modify the user's roles.
To assign a new role, select it from the Roles dropdown.
To remove a role, select the X next to it.
Application roles:
Applications hosted in the platform require specific roles. Application-specific roles must be assigned to each user who is accessing the application.
For more information, see Privileges and Roles Reference.
You can also assign a role to multiple users. For more information, see Roles Page.
To apply the changes, select Edit user.
Repeat the above steps for each user that you wish to modify.
Monitor Platform Status
To stay current with status and upcoming maintenance of AAC, please review and subscribe to updates here: https://status.alteryxcloud.com/
Workspace Users Setup
Workspace administrators should share the following page with newly invited users: Getting Started for Workspace Users.