Upload Dataset
You must be an admin to upload datasets. There are 3 ways to upload datasets to Auto Insights:
Via Alteryx Designer. See the Auto Insights Uploader Tool article to learn how.
Direct database connection.
CSV file upload.
To upload a dataset via database connection or CSV...
In Auto Insights go to Datasets > Create dataset in Admin Portal.

Select Datasets > + Add a new dataset. The View Requirements page displays.
Verify that your dataset meets the requirements and select Get Started.
Enter a name for your dataset. Then review and check the box next to the PII statement. Note, a dataset name must start with a letter and can only contain lowercase letters, numbers, or underscores. Our recommendation is to keep it simple and reusable. We don't recommend dataset names with dates and months (Supermarket_data_20200101) or version numbers (Supermarket_data_v2).
Select Continue.
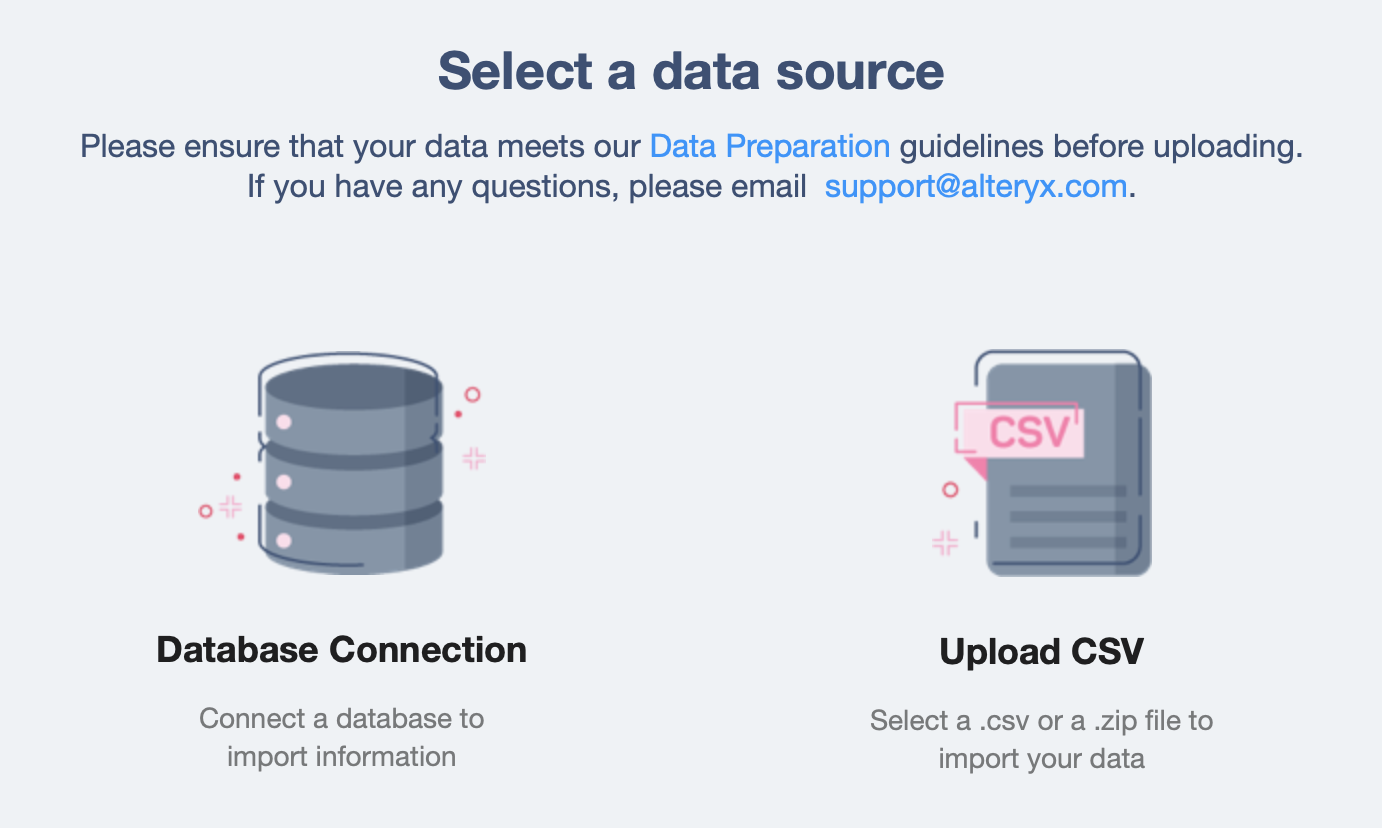
Select a data source–either Database Connection or Upload CSV. Learn more about connecting to a database.

Select Continue.
If you select Upload CSV, a window displays to either drag and drop or browse files. Your file must be comma-delimited, in CSV or Zip format, and must not exceed 2GB in size. For larger sizes and scheduled refreshes use a database connection.
If you select Database Connection, a window displays to enter database connection details. Enter Database Type, Database Name, Host IP/DNS, Port, Username, Password, and Table Name or Query Statement.
Auto Insights provides a preview of your data, so you can confirm that what you uploaded is correct. At this point, we recommend you check that your Date format is YYYY. Auto Insights does not support the YY format.
Select Analyse. Auto Insights begins analyzing your data.
Confirm your column fields are correct. You can update column headings, or turn off columns you don't want to show. There might be some columns that are unavailable. If it's still required for you to analyze them, turn them back on. The main reason for Auto Insights switching the column off is due to a large proportion of missing data in that column.
Dates: Indicators of time
For the Date fields please specify your Financial Year Start Month and if it should be the Default Date. Default Dates are those that Auto Insights use as default in Missions and Search unless otherwise specified in the Search question.
Segments: Dimensions you can break your measures down by (for example, Categorical fields such as Departments, Age Groups, Gender, or Supplier Names).
Measures: Fields Auto Insights can sum or aggregate (for example, numeric fields such as Sales Amounts, Quantities, Spend Amounts, and Expense Amounts). For the Measure fields, specify if this is a good thing when it increases (for example, it's good when sales increases, and not good when costs increase), and can this be aggregated over time? Most of the time it is yes unless you have something like a bank balance, where you cannot sum the balance over time.

Once you have completed your review, select Upload to Alteryx Now. Auto Insights generates insights, meaning there's no need to start from scratch building dashboards, views, or visualizations.
Explore Your Data and Set Your Dataset Settings

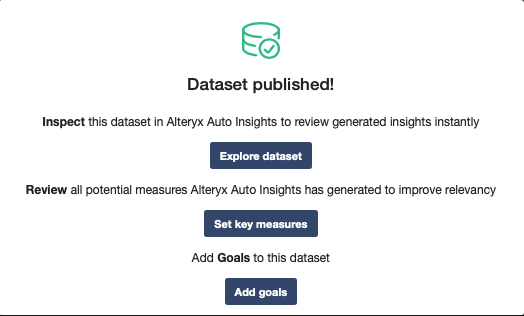
Explore Your Dataset
If you're ready to explore your dataset, check out our quick-start guide.
Set Key Measures
The final step before the data is ready for business users is to provide context on what Auto Insights is calling out for your business. Learn how you can tailor the insights that Auto Insights highlights to be relevant to your business here.
Add Goals
With Goals, Auto Insights can help you track your performance against your KPIs with precision. Once Goals are imported, they display in Missions so you can work together with your team to achieve better outcomes. Learn about Prepare Goals Dataset