ワーカーノードの設定
Alteryx Server UIを設定したので、次は、ワーカーノードのセットアップを完了させます。セットアップを完了するには、ワーカーを設定します。コントローラー設定が表示されたら、以下の手順を実行します。
[Remote Controller] (リモートコントローラー)画面で、「クラスターロールを追加」セクションのステップ7で作成したDNSホスト名と、この手順の「プライマリコントローラーの設定」セクションのステップ3で取得したコントローラートークンを入力します。

[テスト]を選択して互換性を確認します。
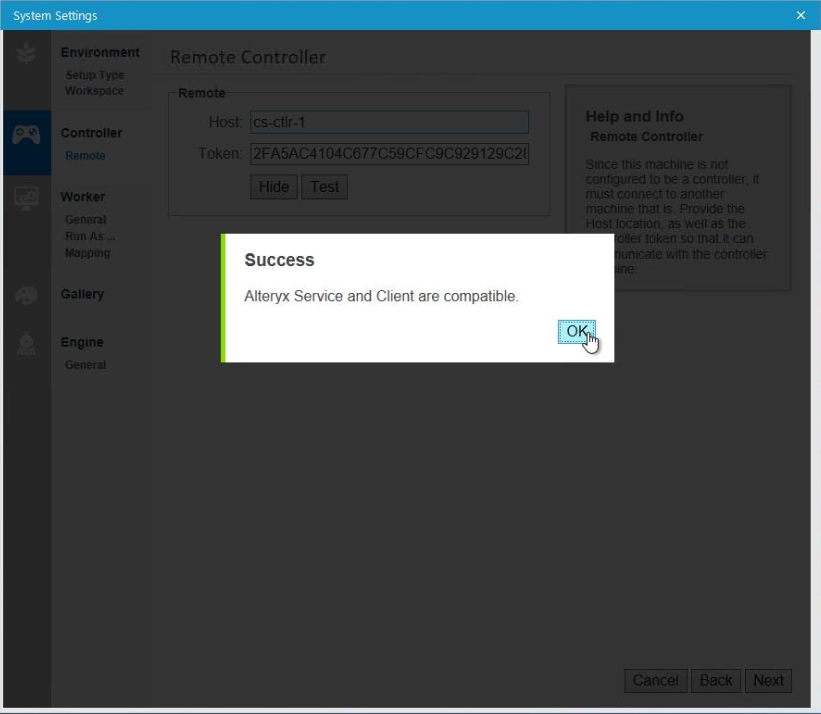
正常に実行されたという通知がない場合:
Alteryx Server環境内のすべてのノード(Server UI、コントローラー、ワーカーノード)で同じバージョンのAlteryx Serverが実行されていることを確認します。
コントローラーノードでTCPポート80をブロックしているファイアウォールがないことを確認します。
Alteryx Server環境のノードごとに必要に応じて、残りのAlteryxシステム設定を完了します。次に、[Finalize Your Configuration] (設定の最終確認)画面で[Finish]を選択して設定を適用し、新しく適用された設定を使用してAlteryxServiceを起動します。