Manage Groups
On the Groups tab of the User Management page in the Server Admin interface, Curators (Server admins) can create user groups. User groups allow admins to more efficiently assign user roles. They also support asset sharing via collections.
Create a New Group
On the Groups tab of the User Management page, select New Group to add a new group.
If you are using Integrated Windows Authentication, you have a Group Type option.
Select Active Directory to add a group from your Active Directory as a user group.
Select Create Custom Group to create a user group you can manually add users to.
If you are adding a Custom Group, enter a name for your group in Group Name.
If you are adding an Active Directory group, search for the Active Directory group in Search Groups.
For both Custom Groups and Active Directory groups, select a Group Role to assign to all users in the group.
Select Create.
Important
Go to User Roles to learn about the permissions each user role includes. Go to Understand Role Hierarchy to learn how a user's group role impacts their access within Server.
Add Users to a Group
Custom Groups allow you to choose the users that are part of the user group. Follow these steps to add a user to a group.
Select a group.
Select Add User.
Search for the user by username or email. This searches Active Directory for Active Directory users and groups if you are using Integrated Windows Authentication. If you are using Built-in Authentication this searches Server for Server users.
Select the user.
Select Add.
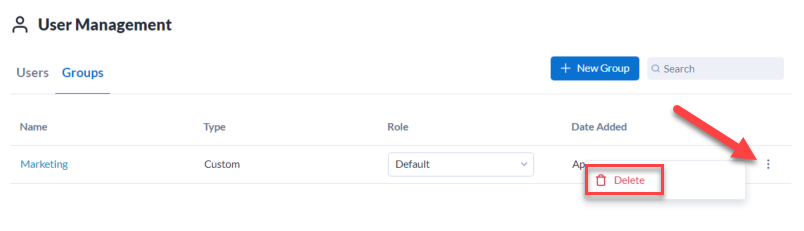
Delete a Group
To delete a group, select Delete in the three-dot menu of the group grid. When you delete a group, you also remove collections access for the group's members.