One Tool Example
Formula has a One Tool Example. Go to Sample Workflows to learn how to access this and many other examples directly in Alteryx Designer.
Use Formula to create new columns, update columns, and use 1 or more expressions to perform a variety of calculations and operations. Go to Functions for a list of functions to use to create an expression.
You can use the Formula tool to...
Apply conditional statements.
Convert numbers and strings.
Format dates.
Extract file paths.
Apply financial algorithms or mathematical calculations.
Find the minimum and maximum values.
Analyze spatial data.
Cleanse string data.
Perform validation tests on data.
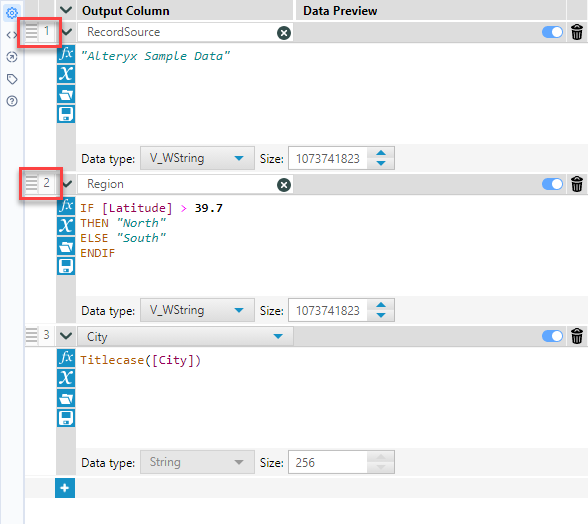
In the Configuration window, you can create multiple expressions. Alteryx assigns an expression ID number to each individual expression in the order it appears in the Configuration window (not necessarily the order it was created). For example, the 1st expression has an ID of 1, the 2nd has an ID of 2, and so on.
Note
Note that if you rearrange your expressions, the IDs aren't rearranged alongside them. For example, if you have 3 expressions and move the 3rd expression to the top, it now has an ID of 1, whereas it previously had an ID of 3.
These IDs can help you document and troubleshoot your expressions since the expression ID is referenced in the error message.

To build your expression, first, specify an Output Column. The Output Column will contain the results of your expression. You can overwrite an existing column or you can create a new column. Select the Output Column dropdown and choose an existing column or select Add Column and provide a name for your new column.
To add a new column of data...
Select + Add Column and enter the new column name.
Data type: Select a data type, if necessary.
Note
For FixedDecimal values, there is an implicit conversion to Double in the Formula tool.
Size: Select to change the size or width of the data for Fixed Decimal, String, Date-time, Time, or Spatial Object data types.
Select the expression editor to build your expression. Once the workflow runs, the Data Preview box displays the 1st row of data from the specified column with the expression applied.
Use any of these methods to build an expression:
Enter text directly in the expression editor.
Press Ctrl + Space to view a list of all functions.
Enter a word or phrase to view a matching list of functions.
Enter a [ (left bracket) to view a list of variables that you can use in the expression. Variables include...
Columns: Data from an incoming connection, or from a column created in a previous expression.
Connections from Questions: Values from an Interface tool connected to the Question anchor of a tool with an expression editor, when the tool is used in an app or macro. Use the Question anchor when you want question values to be used as variables in the expression. Go to Interface Tools for more information.
Constants: Global variables for a workflow that make it possible to change a value in a single location and have that change apply to the rest of the workflow. Go to Constants for more information.
Select the Functions icon ("fx") to search and browse through categories of functions. Go to Functions for more information.
Select the Columns and Constants icon ("x") to search and browse through incoming or newly created columns and constants.
Existing Columns: Data from an incoming connection, or from a column created in a previous expression.
Connections from Questions: Values from an Interface tool connected to the Question anchor of a tool with an expression editor, when the tool is used in an app or macro. Use the Question anchor when you want question values to be used as variables in the expression. Go to Interface Tools for more information.
Constants: Global variables for a workflow that make it possible to change a value in a single location and have that change apply to the rest of the workflow. Go to Constants for more information.
Select the Recent and Saved Expressions icon (folder icon) to search and browse through recent and saved expressions.
With an expression in the expression editor, select the Save Expression (disc) icon, enter a name, and select Save. Once an expression has been built, it can be saved for use at a later time.
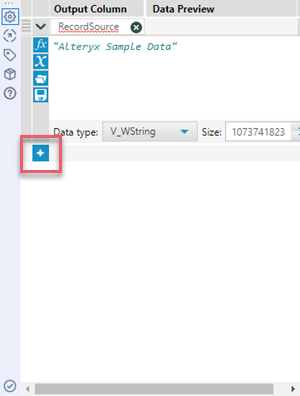
It's helpful to add multiple expressions to a single Formula tool when you modify data in related columns or perform similar operations. When you modify unrelated data or perform unrelated functions, using multiple Formula tools assists with workflow troubleshooting. To add an expression, select the "+" icon.

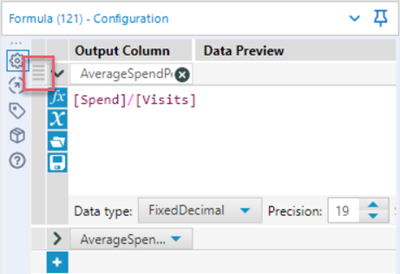
The sequence in which expressions are applied affects the results when multiple expressions modify the same data. To reorder an expression, select and hold the reorder icon (to the left of the expression editor), and drag the expression up or down.
Note that when you reorder expressions, their IDs are reassigned. Alteryx assigns an expression ID number to each individual expression in the order it appears in the Configuration window.

As you work on your expressions, the Formula tool Configuration window can get a little crowded, especially if you have many individual expressions.
You can use the expand and collapse icons to show and hide individual expressions or to show and hide all expressions at once.
To expand and collapse a single expression, select the ">" icon associated with a specific expression ID.
To expand and collapse all expressions, select the ">" icon at the top of the expression editor.

Please note that each time you access the Formula tool Configuration window, the first expression is expanded and all subsequent expressions are collapsed.
Additional Input Anchor
Because this tool includes an expression editor, an additional input anchor displays when the tool is used in an app or macro workflow. Use the Interface tools to connect to a Question anchor.
While you work with the Formula tool, you have the option to enable and disable individual expressions. This gives you flexibility when you build, test, troubleshoot, and execute your workflows.
By default, expressions in the Formula tool are always enabled.
When you disable an expression, the Formula tool configuration information remains unchanged (for example, name and data type selection).
When disabled, an expression doesn't execute at runtime, and an Info message displays in the Results window messages tab to indicate that an expression is disabled.
You can continue to edit any disabled expressions.
To disable an individual Formula expression...
In the Formula tool, locate the expression that you want to disable.
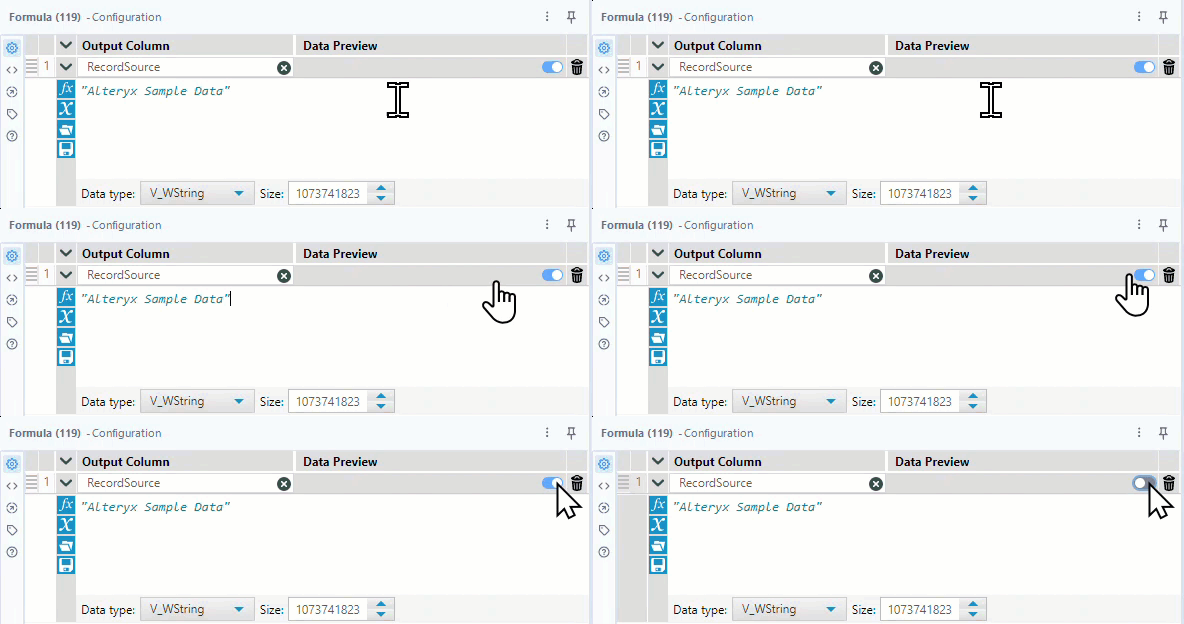
Use the Disable and Enable Expression toggle (next to the Delete Expression trash can) to disable the expression. Switch the toggle to the left (disabled) position. Note that an enabled expression displays a white left-panel color, while a disabled expression displays a gray left-panel color.

To enable the expression, switch the toggle to the right (enabled) position.
Be Careful
If Expression 1 creates a new column and is disabled, and Expression 2 references that new column, then Expression 2 will error with a missing field (column) error.

