After you find and select a data asset, review its details, and then help other Connect users by adding missing details. Assets also provide a platform for users to socialize with one another about the asset.
Connect provides prompts for missing details, encouraging users to provide information and complete assets as possible. Prompts display near the detail's field. Users may select Yes to provide information, or select No to close the prompt. The prompt does not appear again once closed.
Description contains any alternate (alias) names for the asset, description text entered by other Connect users or administrators, and description text discovered when the asset metadata was imported into Connect.
Details provides the basic metadata for the asset, including the file type, timestamps, and IDs.
In Relationships, you can see a visual representation of how the data asset relates to other assets. Select

to open the Nexus view, which provides an interactive graphical view of connectedness and dependencies.
Data Flow shows any file inputs and outputs for this data asset.
To open the data asset, select Open. If you need access to the asset, select Action > Request Access to notify the owner of the asset.
If you are a member of the Certifiers group, select Action > Certify or Action > Do Not Use to tag the asset and help others decide whether this asset is approved or unapproved for use. For more information, see Certify Assets.
For a more detailed list, see Understand Assets.
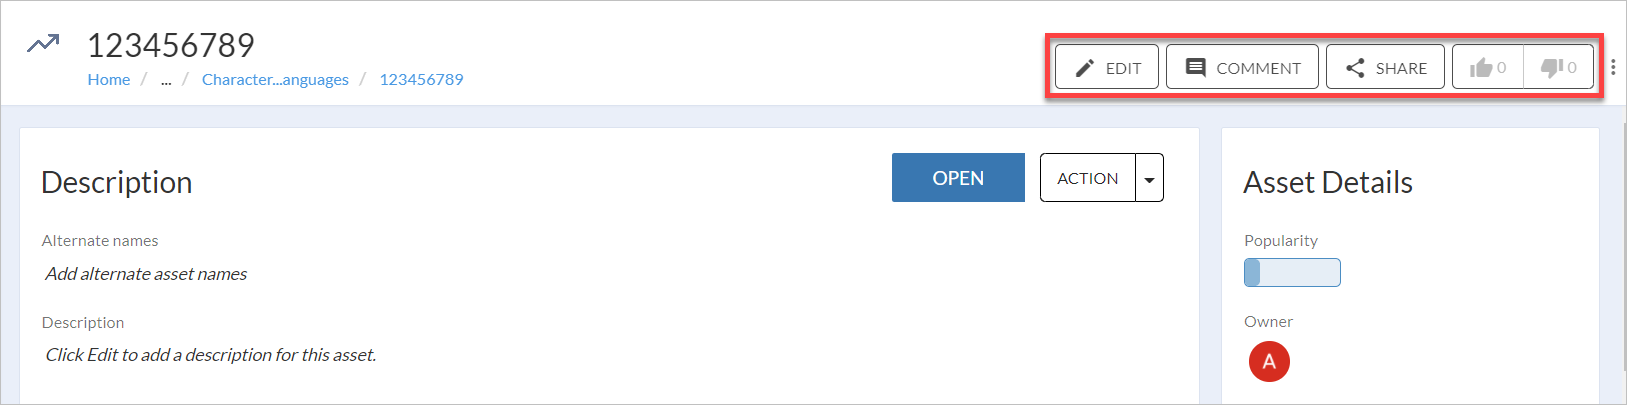
Edit: Select to access a version of the asset page with all inline editable fields accessible for a mass edit. This helps other users locate the asset during searches. To get more information about bulk edits of assets, go to the Bulk Edits of Assets section.
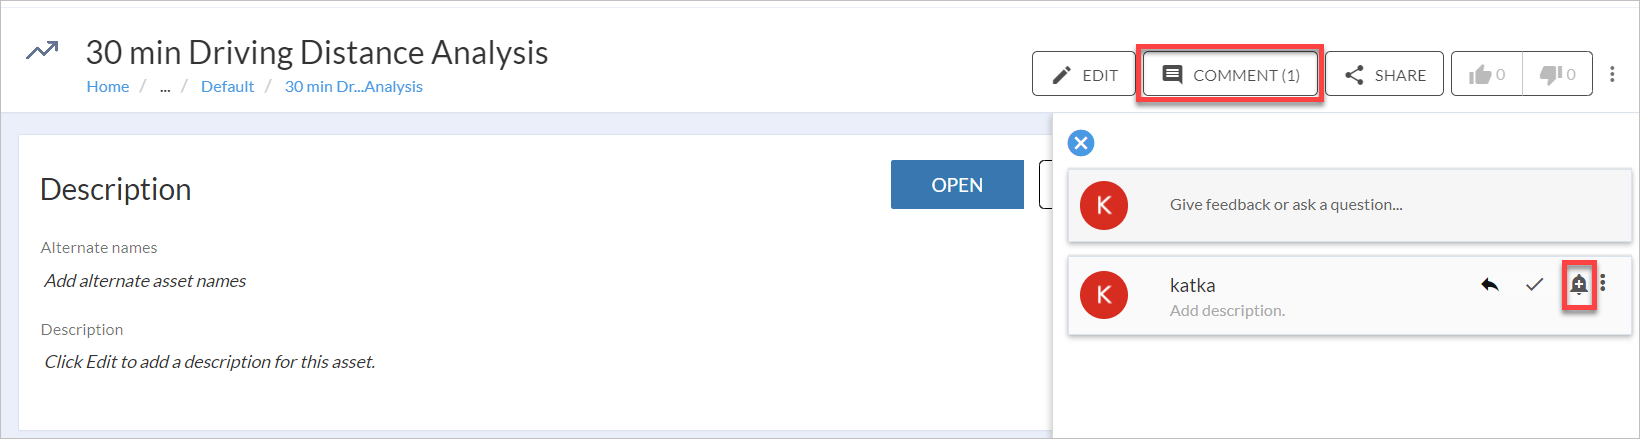
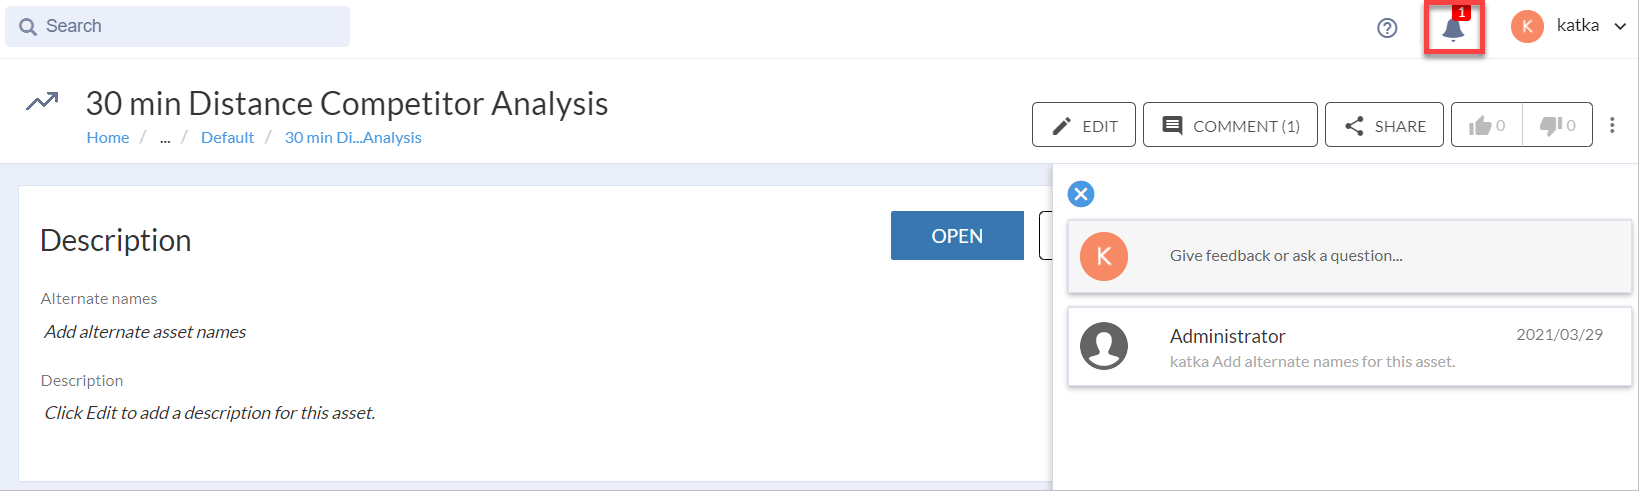
Comment: Select to view existing comments about this asset, provide feedback, or ask a question. You can also create tasks called ToDos. For more information about ToDo tasks, go to the ToDo Tasks section.
Select Give feedback or ask a question to leave a message on the asset.
Select No resolved threads to only see unanswered comments.
If you are mentioned in the Comment section, you will get a notification.
Share: Select to open the Share window. To add Recipients, search for Connect users or add additional emails. Enter a Message and select Share to send an email to the selected recipients.
Rate: Use the Like or Dislike button to provide a rating for the asset, letting other users know how useful you found the asset. The asset owner will be notified about the rating you gave to the asset.
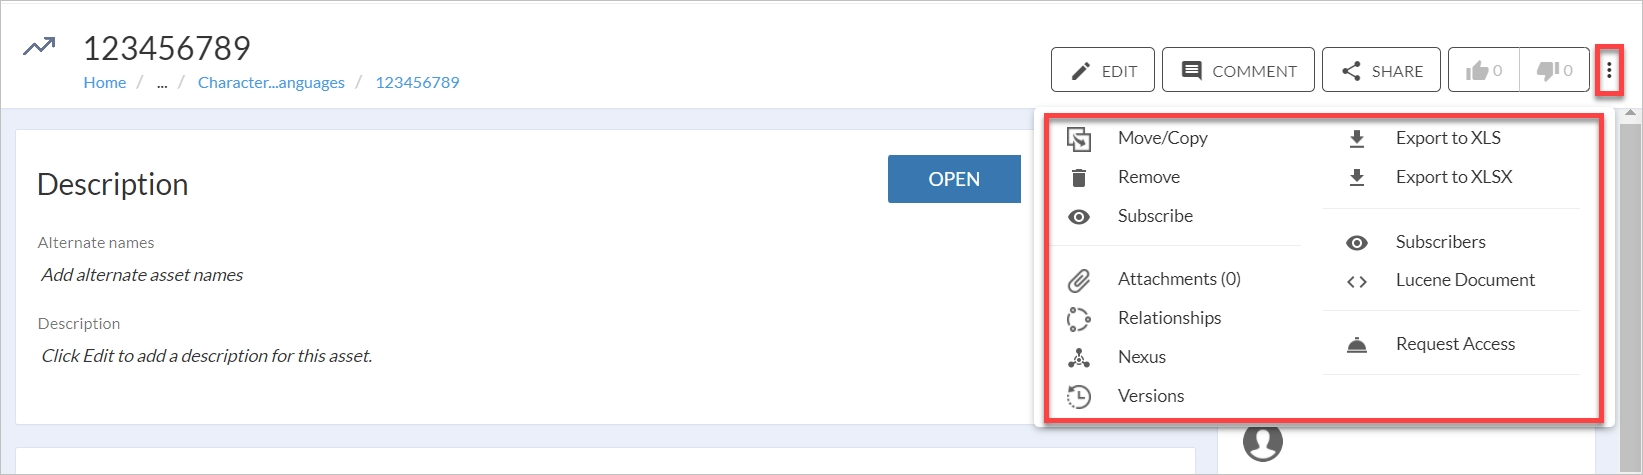
Select the  three-dot menu to access additional options, including:
Move/Copy an asset to a specified location.
Remove an asset. For more information about removed or deactivated assets, go to the Performance help page.
Subscribe to an asset to receive notifications when any changes are made to the page.
Attachments: To access files attached to an asset, select Attachments.
Relationships: To display relationships of an asset in a form of a table, select Relationships. Information available are: Source, Type, and Target. To export the Relationships, select Export to Excel. To use Search to look up a certain relationship, select the Search icon.
Nexus: To open Nexus, a navigable map that shows a web of connections of an asset, select Relationships.
Versions: Select to open a dialog that allows you to compare different versions of the asset. A new version is created after each edit, and a user can revert to a previous version if needed.
Export to XLS: Select to download the selected content as an XLS file.
Export to XLSX: Select to download the selected content as an XLSX file.
Note
In case you export larger data sets using XLS/XLSX export, a timeout might occur after 8 minutes.
Subscribers: Select to view all subscribers for this asset.
Lucene Document: To find out what information is processed about a given asset during a search using Lucene, select Lucene Document. For more information about Lucene, visit the Apache Lucene page.
Request Access: Select to request access to the asset. For more information, visit the Use Assets page.
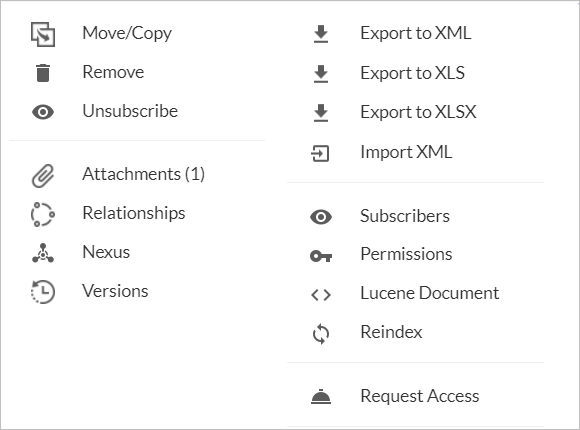
As an admin, you have additional options in the three-dot menu:
Export to XML: To export an asset to an XML file, select Export to XML. Visit the Export and Import page for more information.
Import XML: To export an asset from an XML file, select Import XML. Visit the Export and Import page for more information.
Permissions: To check or update permissions for a specific asset, select Permissions. Visit the Permissions page for more information.
Reindex: Repairs or updates the search index. To reindex an asset, select Reindex. Visit the Reindex page for more information.
Bulk edit can save you time by choosing and updating multiple assets at once. You can edit the fields in bulk, for example: Description, Owner, Tag, Alternative Name, Last updated, Relationships, Related terms, and other.
You can select assets both in any asset section (Analytic Workflows, Reports, and so on) and in Advanced Search.
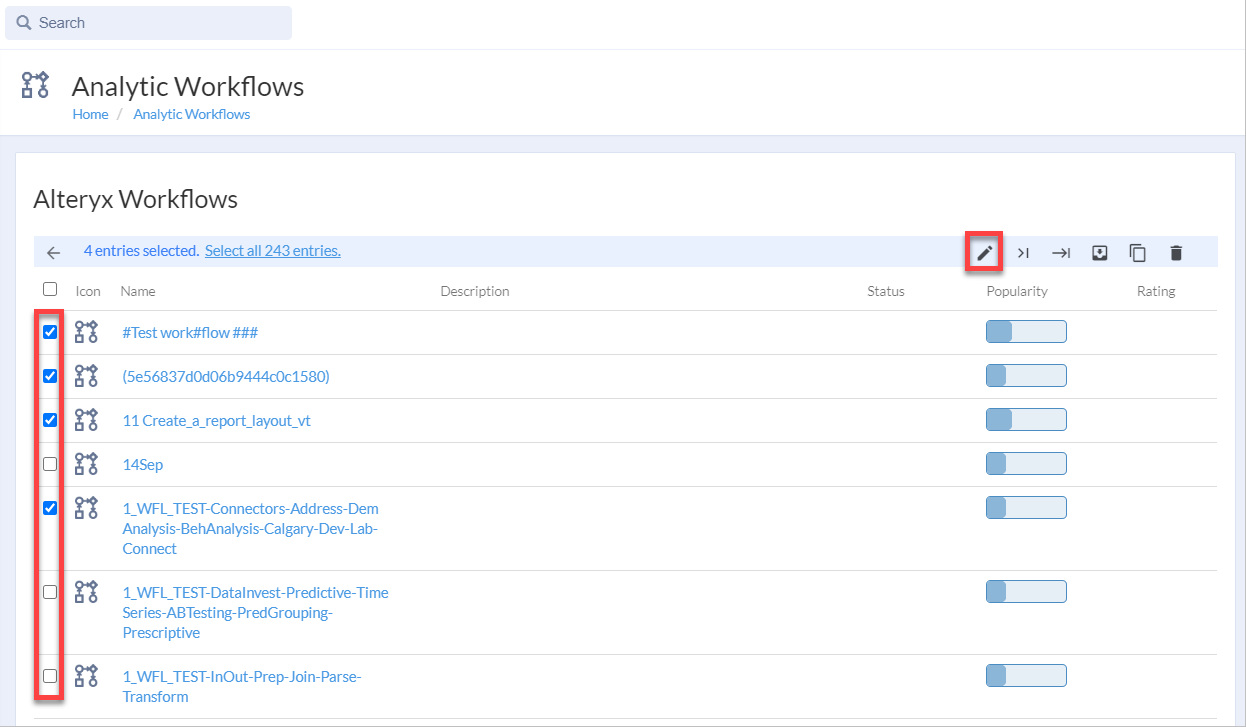
To open the bulk edit operation, select the Bulk operations icon while being on a list of assets.
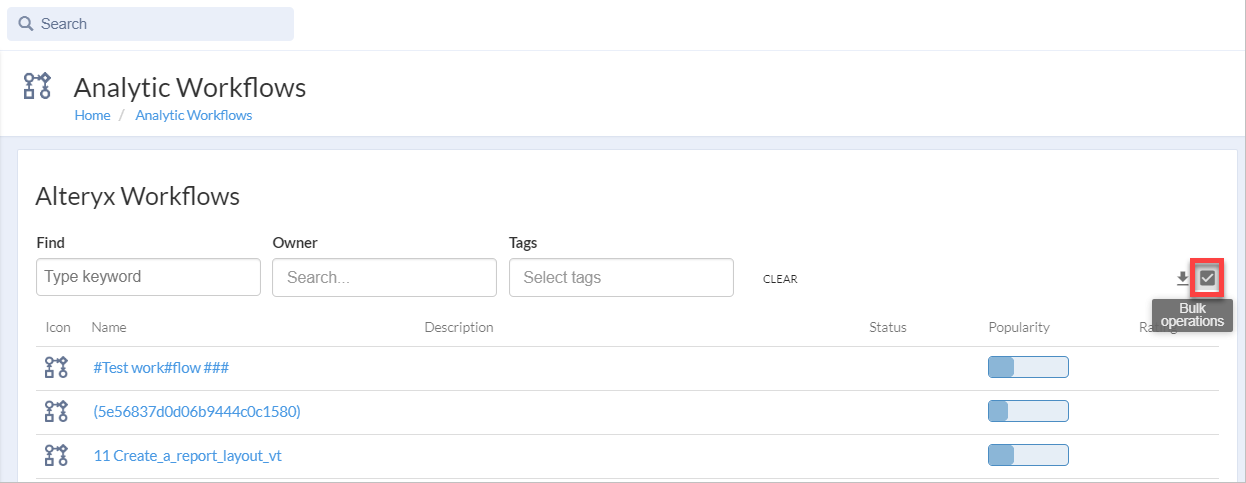
To select multiple assets of your choice, check the box next to their icons. To execute the bulk edits operation, select the Execute bulk edit icon. The Bulk edit window pops up.
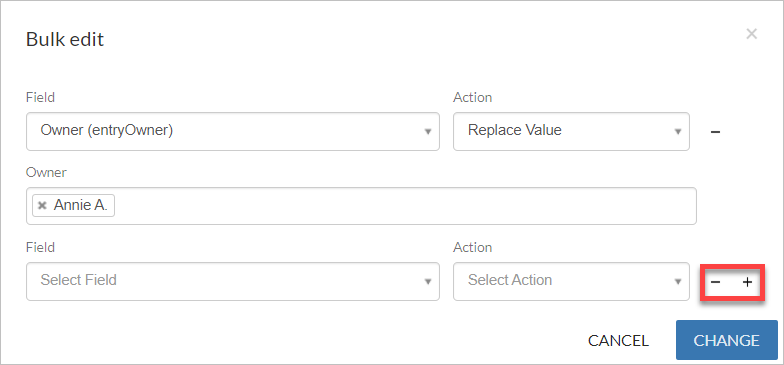
In the Bulk edit window, select the field you want to change, then select which action to use. After you select the action you want to perform for the selected field, you can enter the values you want to change if needed.
Actions you can perform with the bulk edit:
Remove All: By selecting the Remove All action, the field value will be erased.
Add Value: By selecting the Add Value action, a value will be added to already existing value(s) in given field.
Replace Value: All existing content of the fields you want to change is replaced with the provided value.
To confirm the bulk edit operation, select the Change button.
How to Change Multiple Fields at Once
If you would like to change multiple fields at once, select + (Add icon), then select the field to edit, followed by selecting the action you want to perform.
To delete a field from the bulk edit, select - (Remove icon).
.
ToDo tasks allow you to have an overview of the tasks created by you or assigned to you by others.
Create ToDo tasks directly in a comment thread by selecting the ring bell icon.
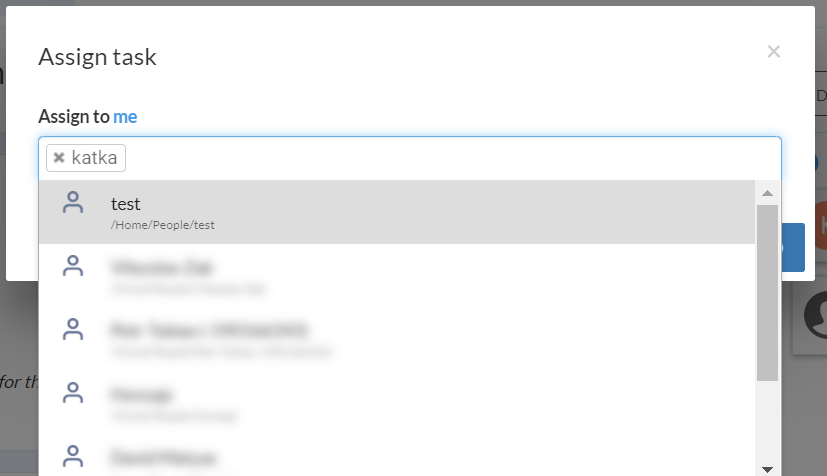
You can assign a task to yourself or select another user(s), then select Add. A ToDo task is created and is accessible by clicking the bell icon in the upper right corner.
You can perform the following actions for each task: resolve, assign, edit, and delete.
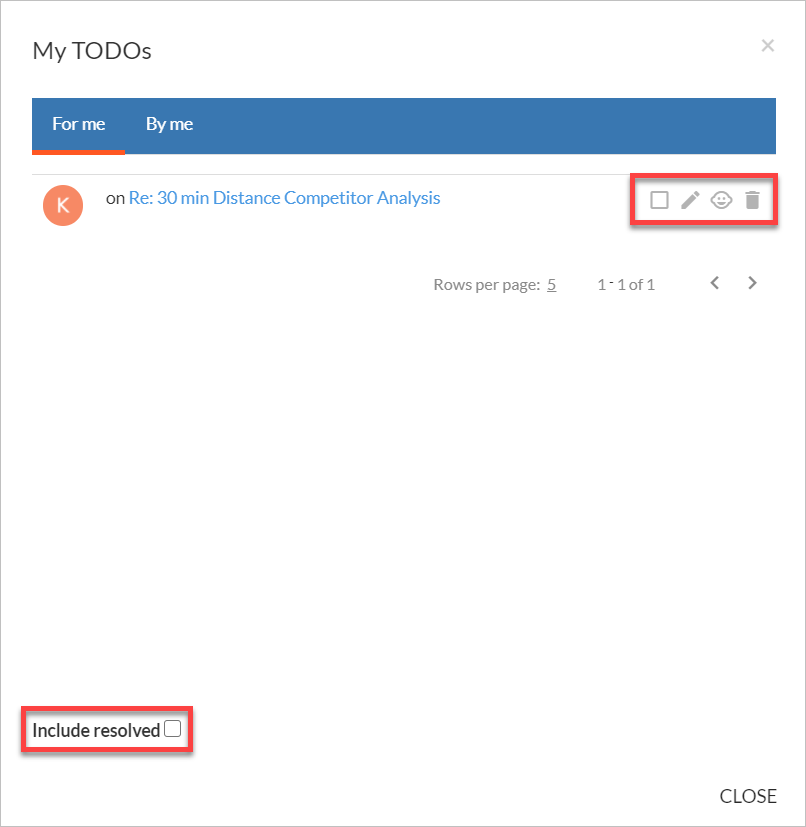
To resolve the task, check the box (Resolve) in the actions panel.
To edit the task (for example, add a description), select the pencil icon (Edit) in the actions panel. To include already resolved ToDo tasks in the list, check the Include resolved box.
To assign or reassign the task to another user, select the face icon (Assign) in the actions panel.
To delete the task, select the bin icon (Delete) in the actions panel.
Note
You cannot create a ToDo task in a resolved comment thread.
Superuser (admin) cannot create or assign a ToDo task.
You can add a description only after assigning the task.