Important
A curator (Server admin) has to enable the user permission to schedule jobs before you can begin scheduling workflows. Curators can learn how to enable scheduled workflows for users in the Jobs (Schedules): Admin Interface articles. Once a curator has enabled the user permission for you to schedule jobs, the link to the Schedules page appears on your Server UI toolbar.
In the Server UI, locate the workflow you want to schedule and select it to view details.
Select Schedule.
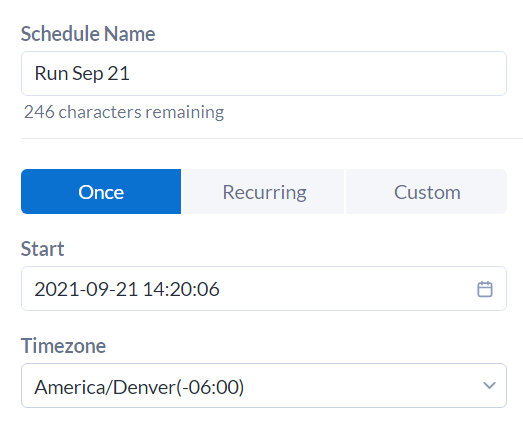
(Optional) In Schedule Name, enter a name for the schedule.
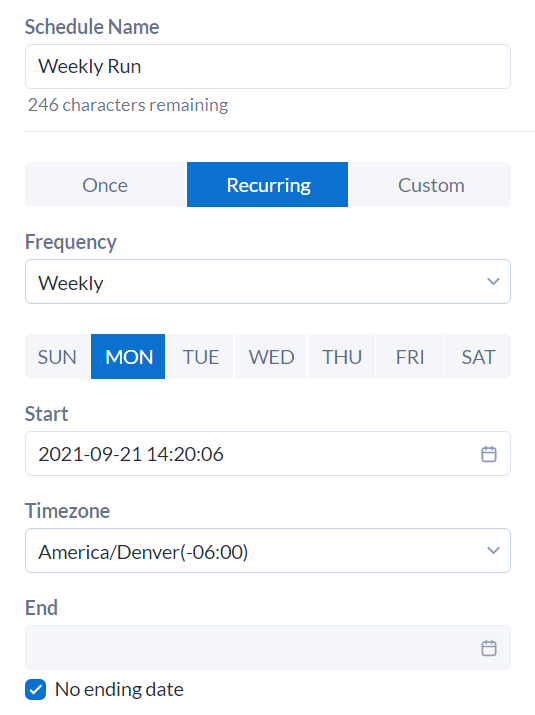
Select schedule occurrence: Once, Recurring, or Custom. Complete the scheduling details that appear after you select an occurrence.
Once: Select a specific date and time to run the workflow.
Recurring: Select an hourly, daily, weekly, or monthly frequency.
Custom: Choose the days of the month and the months of the year you wish to schedule the workflow to run and specify a start and end date.

All schedule frequencies have an option to select the time zone for which it is run. Go to Schedules: Time Zone Support for more info on schedule time zones.
In Priority, select Low, Medium, High, or Critical to prioritize the workflow job. When there are multiple jobs in the queue, the job with the highest priority will run first. If you don't see this option, you don't have permission to prioritize runs.
In Assigned Worker, select an option to assign a specific worker to run the workflow. If you don't see this option, you don't have permission to assign jobs.
(Optional) Enter notes about the schedule comments in the Comments field.
(Optional) If the workflow must be run as a specific user to access data, select Edit Credentials.
In Schedule as, type or select workflow credentials from the drop-down.
Enter the password in the box, if necessary.
Select Save.
To schedule a workflow from within Designer follow these steps:
Select Options > Schedule Workflow.
On the Set Schedule Location screen, select the Server where you want to schedule the workflow. If you have not yet added your company's Server, select Add Server and follow the steps to set up a new Server.
If you aren't logged into the Server you are prompted to do so.
If you haven't saved the workflow to the Server you are prompted to do so. Go to Save a Workflow to Server for steps to do so.
You are redirected to the schedule creation page of Server.
Follow steps 3-9 above to schedule your workflow.