Once you have added the Failover Clustering Feature to each node in the cluster, the next step is to create a cluster. These steps can be completed from any of the servers that the Failover Clustering feature has been enabled on.
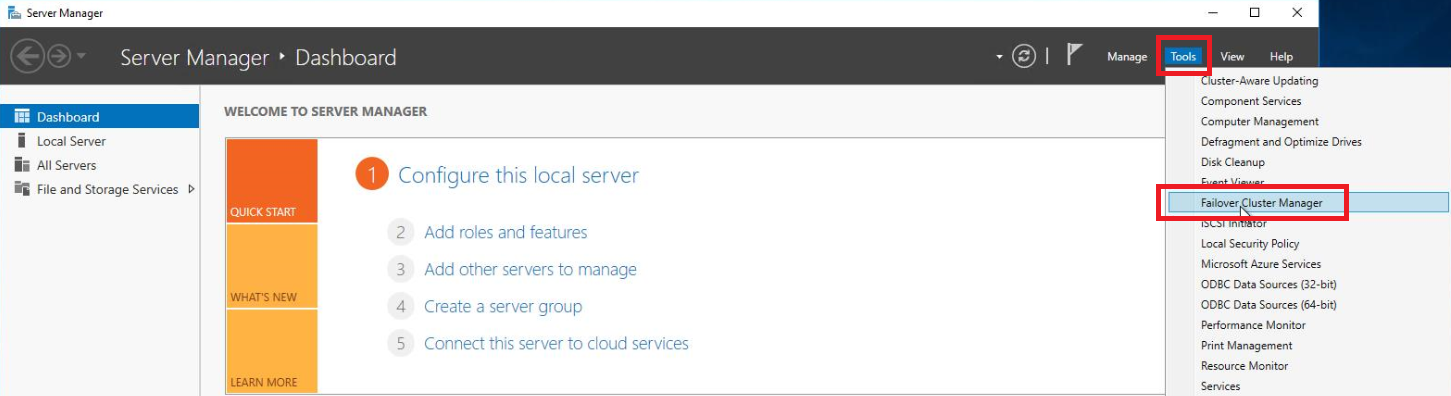
Open Server Manager.
From the Tools menu, select Failover Cluster Manager.
Within the Actions pane of the Failover Cluster Manager console, select Create Cluster.

Within the Create Cluster Wizard, select Next on the Before You Begin screen.
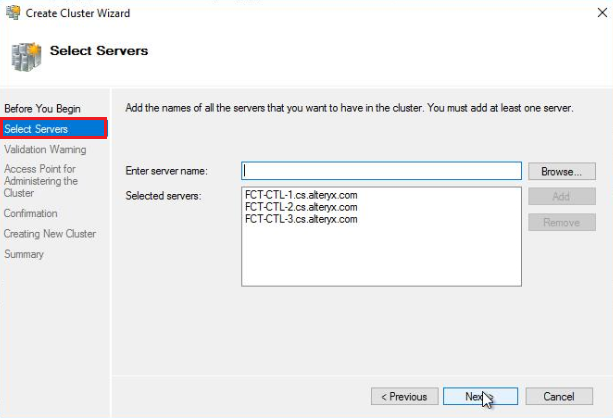
Once you have added each of the servers that will be included in the cluster, verify the servers are listed in the Select Servers window. Then select Next to proceed.
On the Validation Warning screen, select Yes. When selecting Next, run configuration validation tests, and then return to the process of creating the cluster. Then select Next.
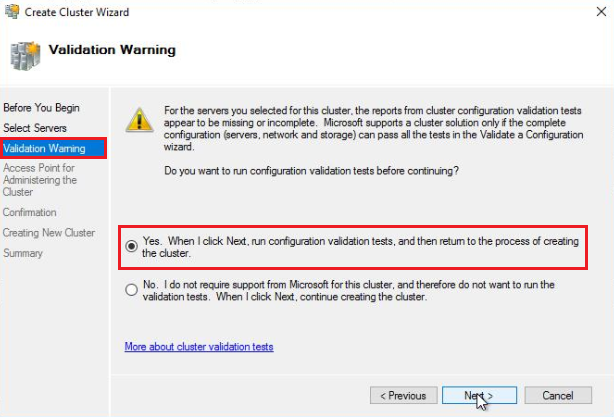
After you select Next on the Validation Warning screen, the Validate a Configuration Wizard will be launched.

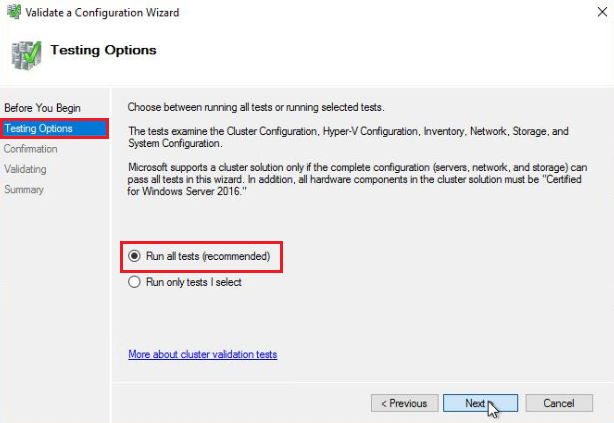
On the Testing Options screen, select Run all tests (recommended), then select Next.
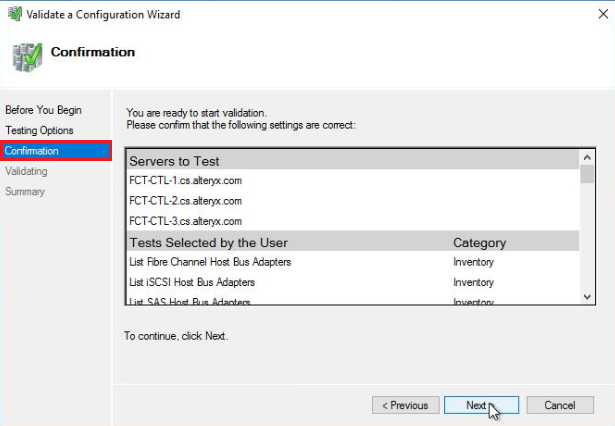
On the Confirmation screen, validate that all nodes being added to the Cluster are listed in the Servers to the Test section. Then select Next to run the validation tests.
Once the validation process is complete, review the Summary to ensure there are no errors that need to be addressed and select Finish to return to the cluster creation process. Optionally, you can select View Report to review the detailed validation report.
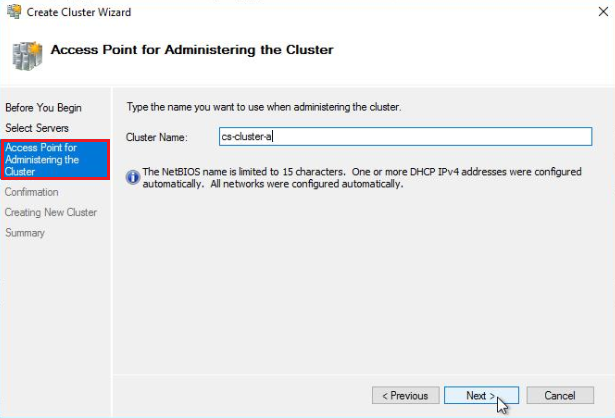
On the Access Point for Administering the Cluster screen of the Create Cluster Wizard, enter a Cluster Name. The Cluster Name will be added to DNS within the Active Directory domain and will be used for Administering the cluster and any roles owned by the Cluster. Once you have entered a Cluster Name, select Next to proceed to the confirmation screen.
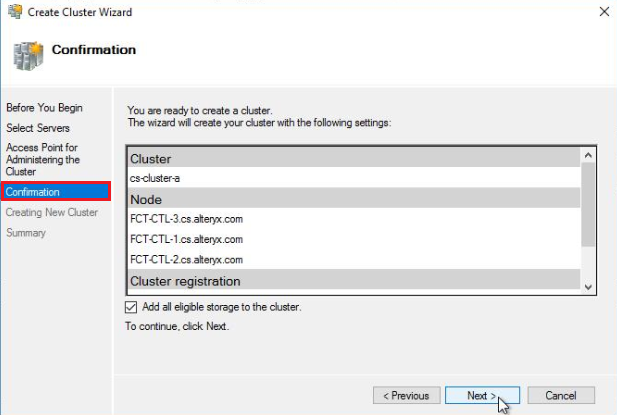
On the Confirmation screen, verify the cluster name and that each node being added to the cluster is listed in the Node section. Then select Next to proceed.
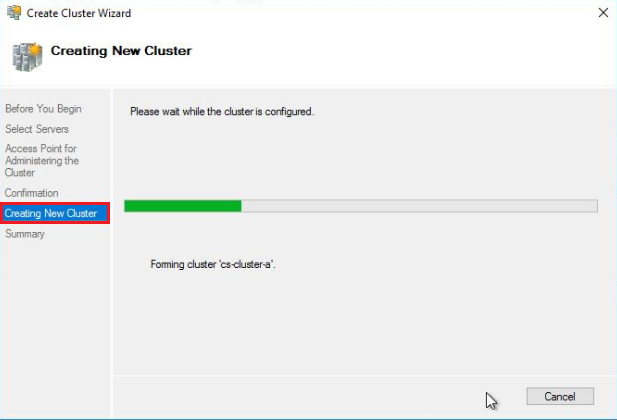
Upon selecting Next in step 12, the new Cluster will be configured and added to DNS.
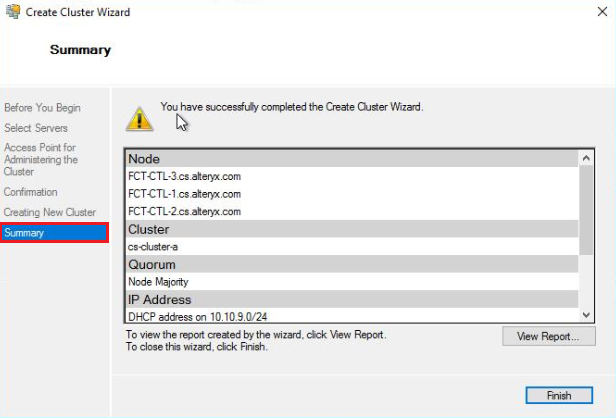
Once the cluster has been configured, you should receive a Summary screen stating you have successfully completed the Create Cluster Wizard. Select Finish to close the Create Cluster Wizard.