The first step in configuring a high-availability Controller is to install Microsoft Failover Clustering. The following steps need to be completed on each of the Controller failover nodes in the cluster. These instructions apply to Windows Server 2016.
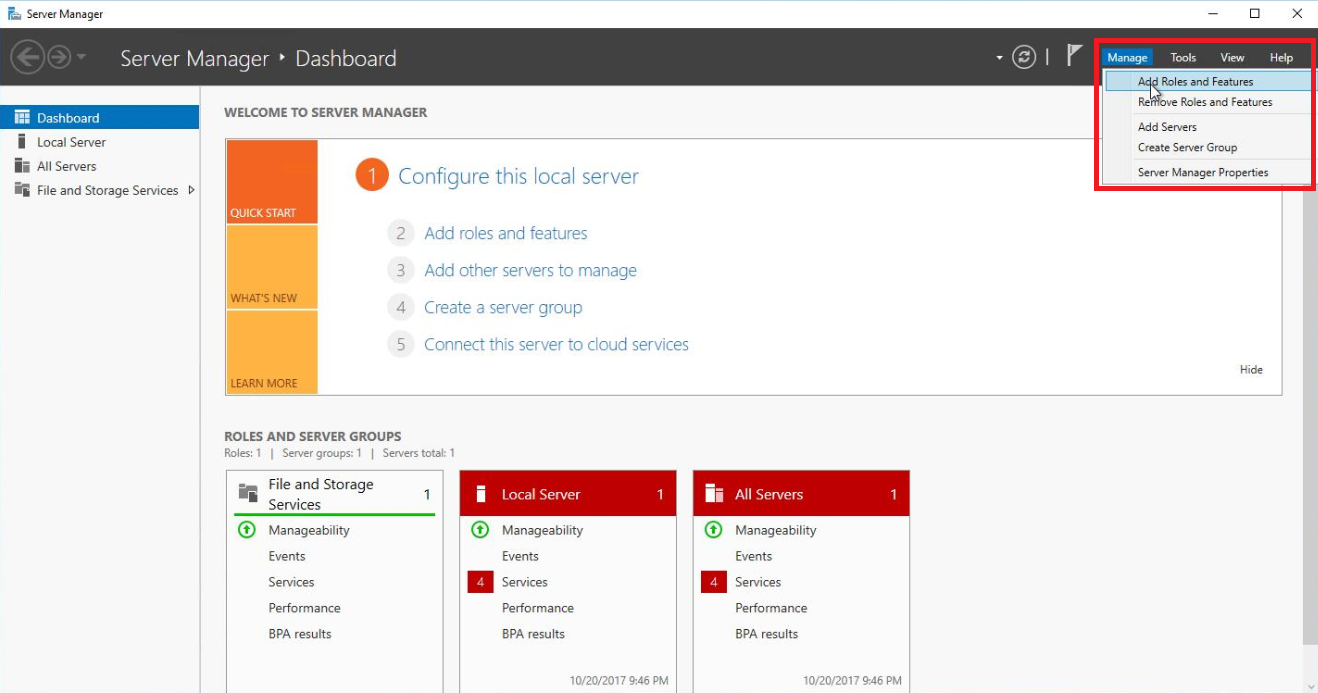
Open Server Manager.
From the Manage menu, select Add Roles and Features.
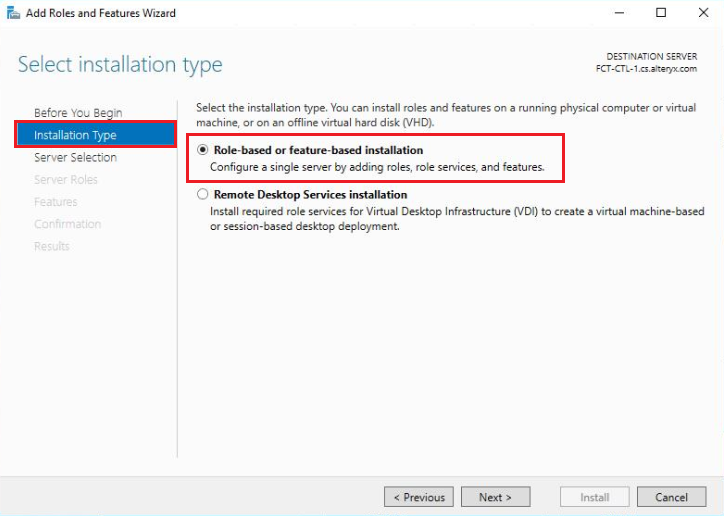
On the Select installation type screen, select Role-based or feature-based installation, and select Next.
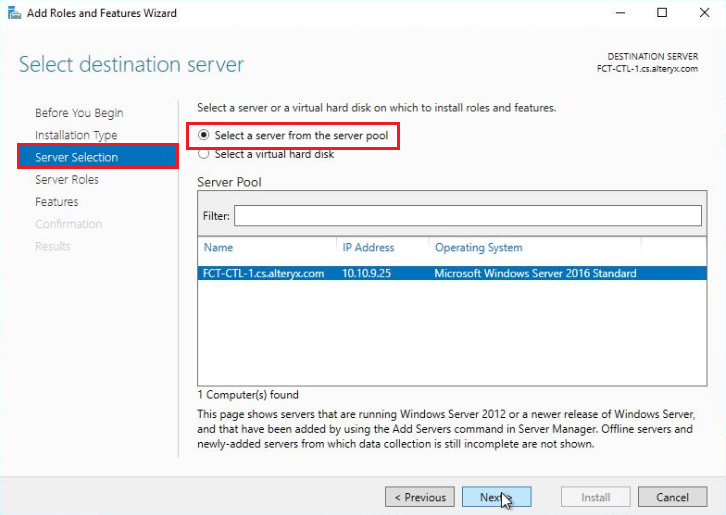
On the Select destination server screen, select the server you are currently logged in to from the Select a server from the server pool section, and select Next.
On the Server Roles screen, select Next to proceed to the Features screen.
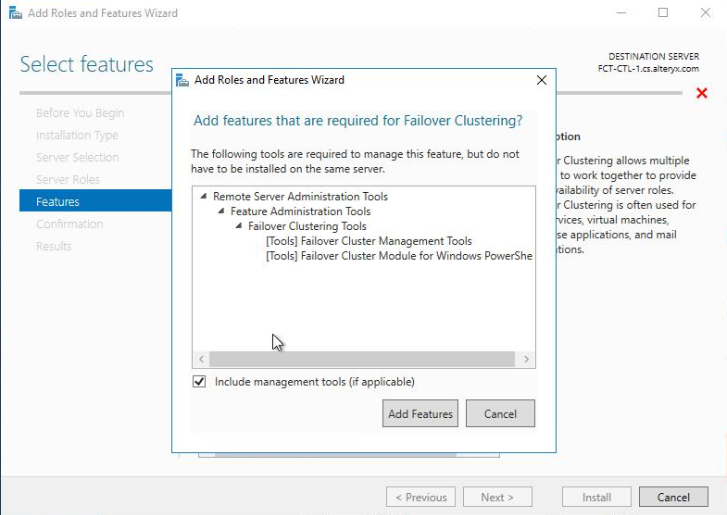
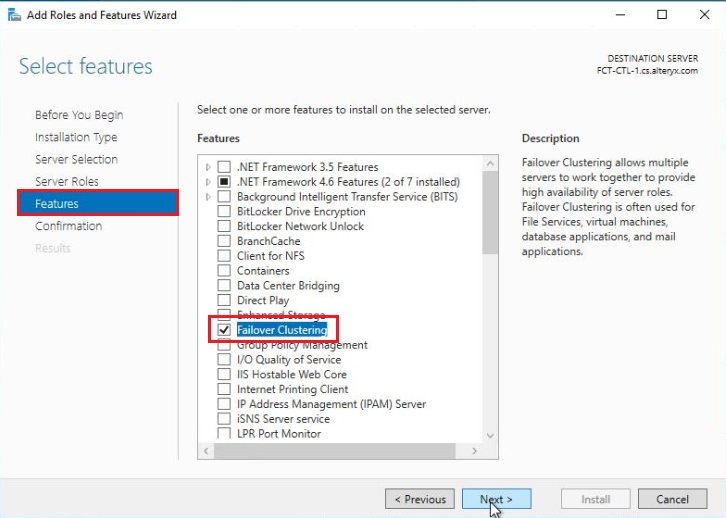
On the Features screen, select Failover Clustering.
Upon selecting Failover Clustering, select Add Features when the following window appears.
Select Next to proceed with adding the Failover Clustering feature.
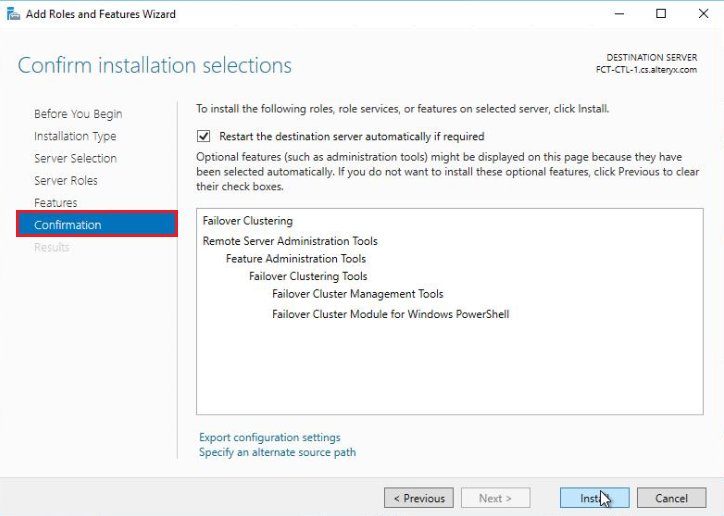
On the Confirm installation selections screen, ensure the Failover Clustering feature is listed and select Install.
Once the Failover Clustering feature has been installed, close the Add Roles and Features Wizard, and add the feature on each of the cluster nodes.