In Virtual Folders, you can list the content with a common attribute to one location by saving a specific filter as a virtual folder.
To access Virtual Folders, go to Homepage > Virtual Folders.
Connect allows to create a virtual folder in Virtual Folders or directly from Advanced Search.
TIP
Before creating a virtual folder, think what content you would like to display in this virtual folder. You will need a query that specifies the content of the virtual folder.
To get this query, go to Advanced search, specify the filter by selecting appropriate fields, enable the View query toggle, and select the Click to copy query to clipboard button on the right. Then create a Virtual Folder and paste the copied query to the Lucene query field.
Go to Homepage > Virtual Folders.
To create a new Virtual Folder, select the (+) button in the bottom right corner.
Select Virtual Folder as the type of the folder, specify the name, and select Create.
Go to Lucene query field and specify the filter query to show desired content based on.
Optionally, specify Entry display type to set how the listed entries will be displayed.
Optionally, specify Custom name of All Entries group.
Optionally, select whether to view entries in ascending or descending order.
Optionally, upload an icon for this virtual folder.
Select Save.
For more information how to create an asset, see Create Assets.
To create a virtual folder directly in Advanced Search, navigate to Advanced Search.
First specify the filter by selecting appropriate fields.
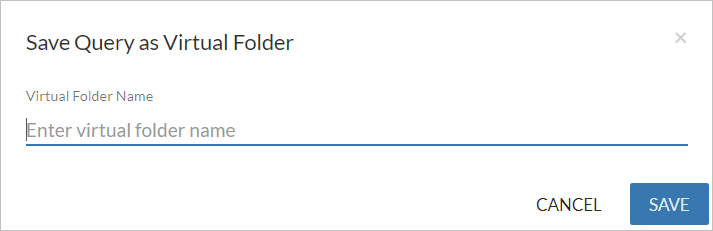
Select the Save Query as Virtual Folder button.

A window Save Query as Virtual Folder pops up. Specify the Virtual Folder Name and select Save. If you provide a name that already exists, the virtual folder cannot be saved.
After you save the folder, a snackbar shows you the information that a virtual folder has been created. To access the folder directly, select Open. Besides you can access the folder you created under Homepage > Virtual Folders.
You can share virtual folders with others. To share a virtual folder, perform the following steps:
Select the virtual folder you want to share.
To open the Share window, select Share.
Select the people you want to share the folder with. To add Recipients, search for Connect users or add additional emails.
Enter a Message, and select Share to send an email to the selected recipients with a link to the shared virtual folder.
To share a virtual folder doesn't necessarily mean that access to all the data assets listed in this folder is provided as well. Users must have at least View permission for the data assets listed in this folder to be able to see them. For more information about the permission types go to Permissions.