Note
Access to the replace workflow functionality depends on your collection permissions and the settings of the workflow as determined by the workflow owner.
Use the replace workflow functionality to merge the latest version from one workflow into the version history of another. This allows multiple users to work on a workflow separately and then merge the resulting updates back. Use the replace workflow functionality in conjunction with workflow migration to create a workflow development and quality assurance process.
Important
When you replace a workflow with another workflow, the replacement workflow versions are not preserved. Any workflow credentials associated with the replacement workflow will be removed for security reasons. If workflow credentials are required, they will need to be re-added to the workflow once the replacement operation is complete. All versions from the original workflow are preserved in the replaced Workflow Version History. All results from both workflows are preserved on the Workflow Results page.
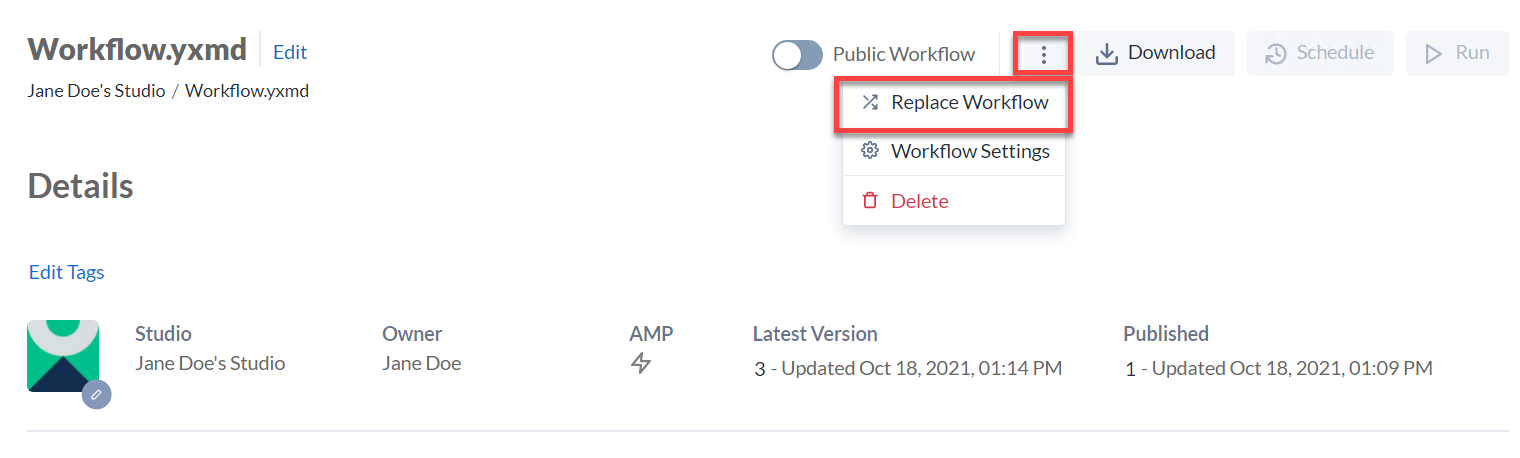
On the workflow details page, select Replace Workflow.
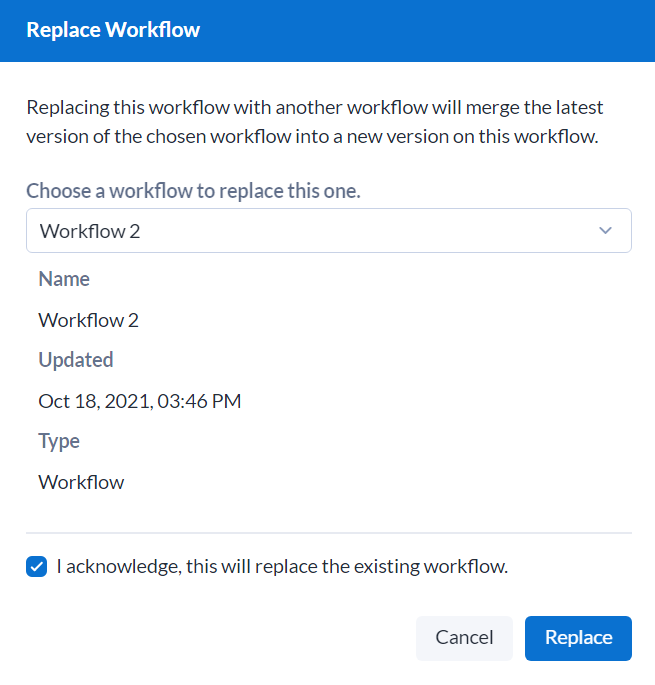
Select the workflow you want to replace the original workflow with and acknowledge the warning.
Select Replace.
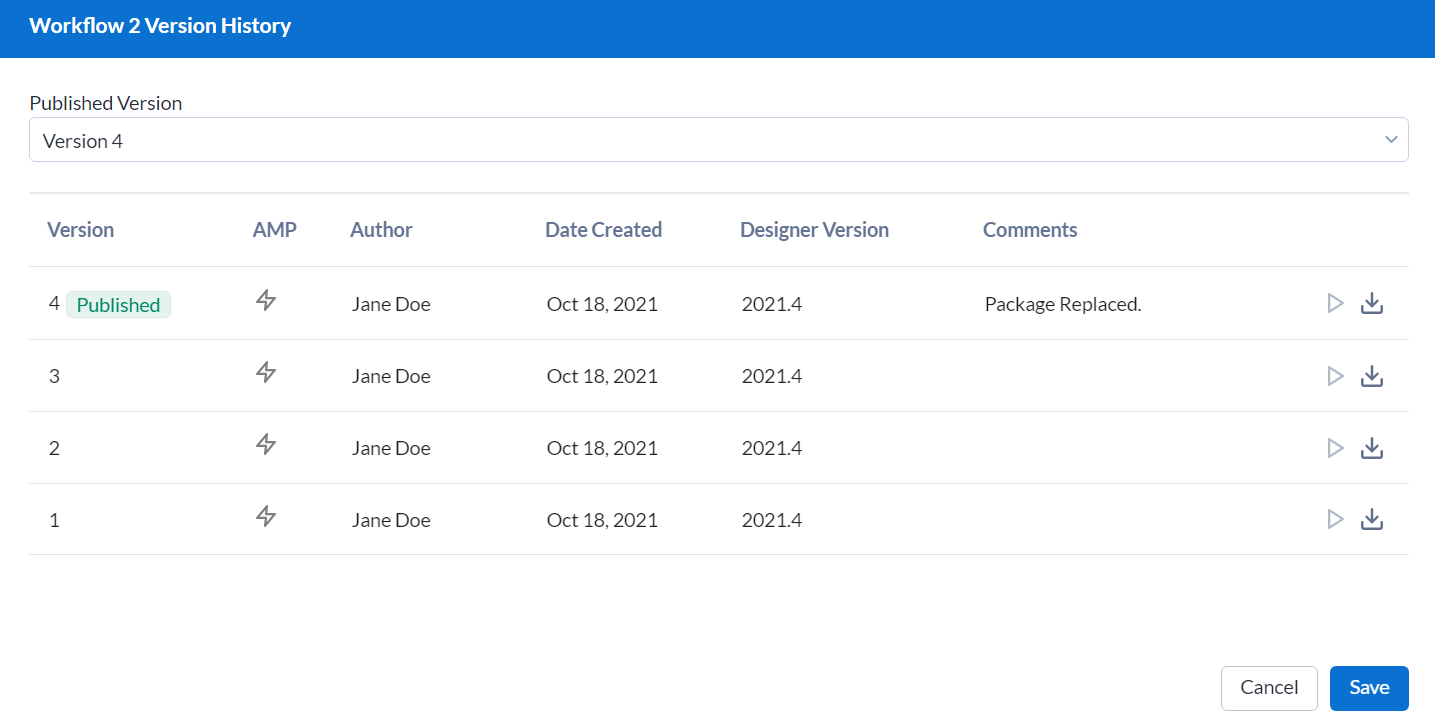
Your replacement workflow is now the latest version in the original workflow's version history. A "Package Replaced" comment displays in the version history. This version is automatically published.
On the Workflow Results page of the Server UI, you can still access results from the original workflow.