Prerequisite
You must have Alteryx Server version 2021.4 or higher installed.
Important
Starting with the 22.1 release, we removed our legacy public OAuth1 API endpoints because they require non-FIPS compliant SHA1 hashing. This removal includes the legacy WCF (Windows Communication Framework) endpoints, Swagger for these legacy endpoints, and OAuth1 middleware. To replace the OAuth1 endpoints, you can use the OAuth2 versions of the legacy APIs released in 21.4 which are FIPS compliant. You will experience the same functionality with the OAuth2 APIs as you did with the OAuth 1 APIs.
Subscription, V1, and V2 endpoints will continue to be supported under OAuth2.
To find out more about the conversion and its impact, visit the OAuth1 to OAuth2 Instructions help page or Conversion Instructions.
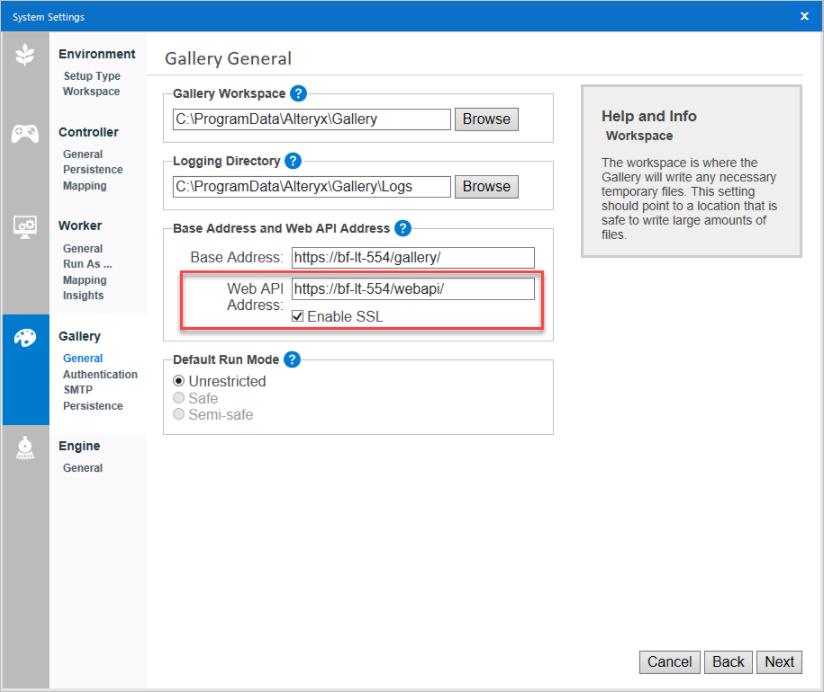
The URL for the API address is dependent on what you set in the Alteryx System Settings.
Note
The Web API Address can be set up only for V1, V2, and V3 using the OAuth 2. For the V1 and V2 API documentation using the OAuth 1, the address is http://{ServerHostname}/gallery/api-docs/.
As a Server admin, you can enable user to use the API. If the API is not enabled in the Server Admin interface, users won’t be able to obtain the key and secret from their profile.
In the Server Admin interface, go to Users and choose the user you want to use the API (for example, yourself). Under Actions, choose Yes for API Access.
To authenticate to the new Server API:
Get API key and secret from your user profile. In the Server User Interface, select My Profile. Under the Keys section, get the API Access Key and API Access Secret.
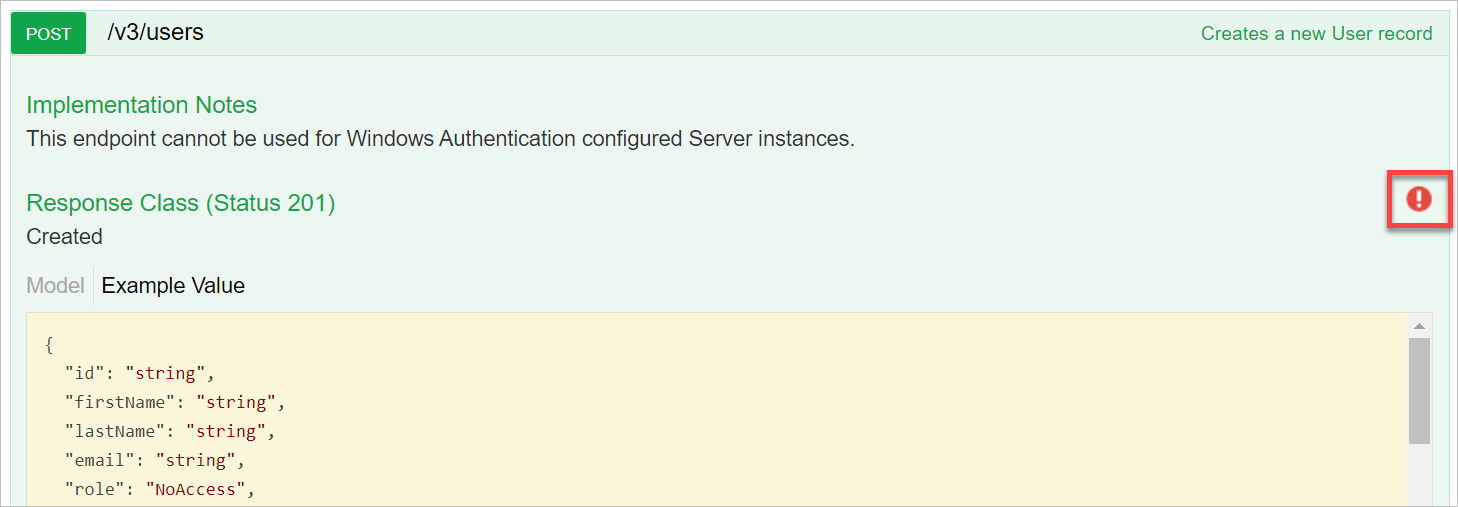
Paste the API key and secret into the authentication modal in Swagger. Then select any API operation. When the operation expands, select the red exclamation point in the right corner to authenticate using your account.
In the modal that appears enter:
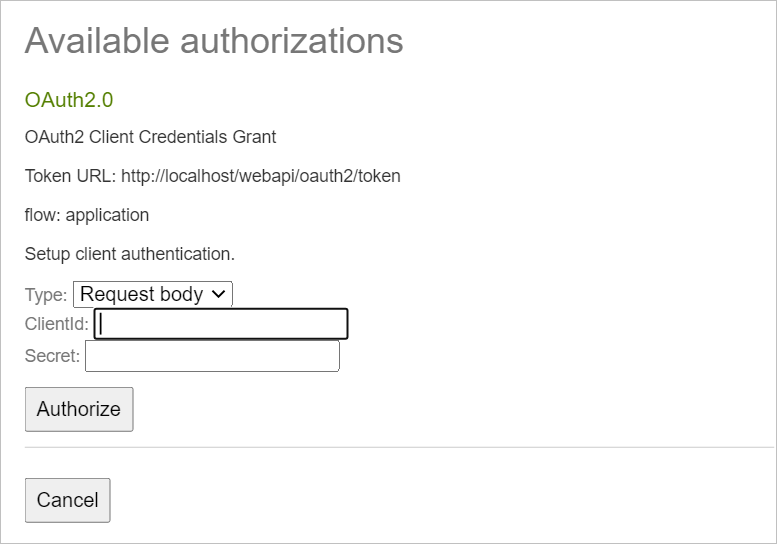
Token URL: If you plan to use Postman, this will be your Access URL Token for authentication.
Type: Request body
ClientID: Your API Access Key
Secret: Your API Access Secret
Select Authorize.
If you have successfully authorized, your screen will refresh, and the red exclamation point will now be blue.
Note
We do not recommend testing complex operations using Swagger. If you write operations and refresh the page using Swagger while testing the API, or your authentication expires before running the API, all your work will be lost.
If you get 401 status when attempting to use the Swagger API calls, although the Swagger interface still indicates you are active, it’s possible your session expired. You need to re-authenticate by clicking the same icon (whether it’s the red one or the blue one).
For more information on how to access the Server API V3, go to the Access Server API V3 help page.
For more information how to authorize your requests in Postman, visit the How to Use Postman help page.