Auto Insights Uploader Tool
User Role Requirements
User Role* | Tool/Feature Access |
|---|---|
Full User | ✓ |
Basic User | ✓ |
*Applies to Alteryx One Professional and Enterprise Edition customers on Designer versions 2025.1+.
Add the Auto Insights Uploader tool to the end of your Designer workflow to view your dataset insights instantly in Alteryx Auto Insights. This tool takes a copy of the data that is transformed in Designer and loads it into Auto Insights for you.
Note
You can also import data from Alteryx One Platform. To learn how go to Import Dataset from Alteryx One Platform.
Expand the sections below for more information on how to get started with the Auto Insights Uploader tool.
Alteryx Designer 2021.2+
AMP Engine
An Alteryx Marketplace account is required to download updates for the tool.
An active Alteryx Auto Insights account with an Administrator or Organization Admin Role. Contact your IT Admin to request changes to your Roles.
For tool version 1.214x, you must have Alteryx Data Connection Manager (DCM) enabled. To enable DCM in Designer, go to Options > User Settings > Edit User Settings > DCM. Check the boxes Override DCM System Settings and Enable DCM. For Access to SDK dropdown, set it to AllowAll.
To avoid workflow errors, uninstall any previous versions of the tool. See uninstall steps at the end of this article.
Designer 2021.4.1—We recommend upgrading from 2021.4.1 to the latest version of Designer, as there are stability issues with this version.
This tool is included with Designer 2022.1 as well as 2022.3 and above, however, it is recommended that all Designer users download and install the latest version of the Auto Insights Uploader tool. Other versions require you to download the tool from Alteryx Marketplace - make sure you download the version that is compatible with your version of Designer.
Note
Alteryx One Platform—Version v1.8.xxx of the Auto Insights Uploader tool or newer is required to upload to Auto Insights in Alteryx One Platform.
*While this tool is compatible with Alteryx Designer and Server 2022.2-FIPS, Auto Insights, and the Auto Insights Uploader tool are not FIPS compliant.
Download and install the latest compatible version of the Uploader tool for your version of Designer.
Download the relevant Uploader tool installation file from Alteryx Marketplace.
Select and hold (right-click) on the Designer app. Select Run as administrator.
In Designer, select File > Open Workflow > Browse.
Find the Auto Insights Uploader YXI that is compatible with your version of Designer, and select Open. The tool installer displays.
Select Install for all users.
Select Install.
There are 3 versions of the Auto Insights Uploader Tool compatible with Designer versions 2021.4 and newer. These share the same configuration instructions.
Designer Version | Auto Insights Uploader Tool Version |
|---|---|
2024.1 and newer | Uploader v1.x.241 |
2022.2 through 2023.2 | Uploader v1.x.223 |
2021.4 and 2022.1 | Uploader v1.x.214 |
In Designer, go to the In/Out tool category.
Drag the Auto Insights Uploader tool onto the canvas.
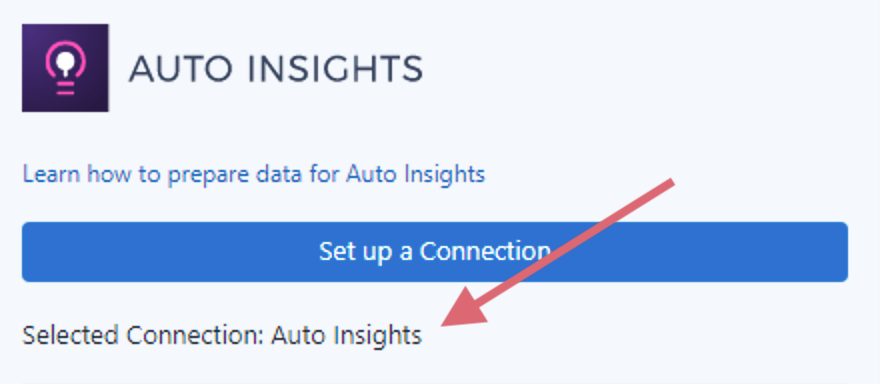
In the Configuration panel, select Set up a Connection. Connection Manager opens.
Select + Add Data Source.
Enter a Data Source Name and Host (for example, https://us1.alteryxcloud.com/auto-insights). Note: To find and copy your Host, go to Alteryx One > Auto Insights > Datasets > API Tokens. Select the copy icon next to your Host. Paste into Designer.
Select Save.
Select + Connect Credential.
From the Authentication Method dropdown, select API Token.
Check the Allow connection for SDK checkbox.
From the Credential dropdown, select Create New Credential.
Enter Credential Name.
Enter your Access Key and Secret from your Auto Insights Account Settings. Learn more in the Auto Insights API Tokens article.
Select Create and Link.
Select Connect.
Check that your connection displays in the Configuration Panel.
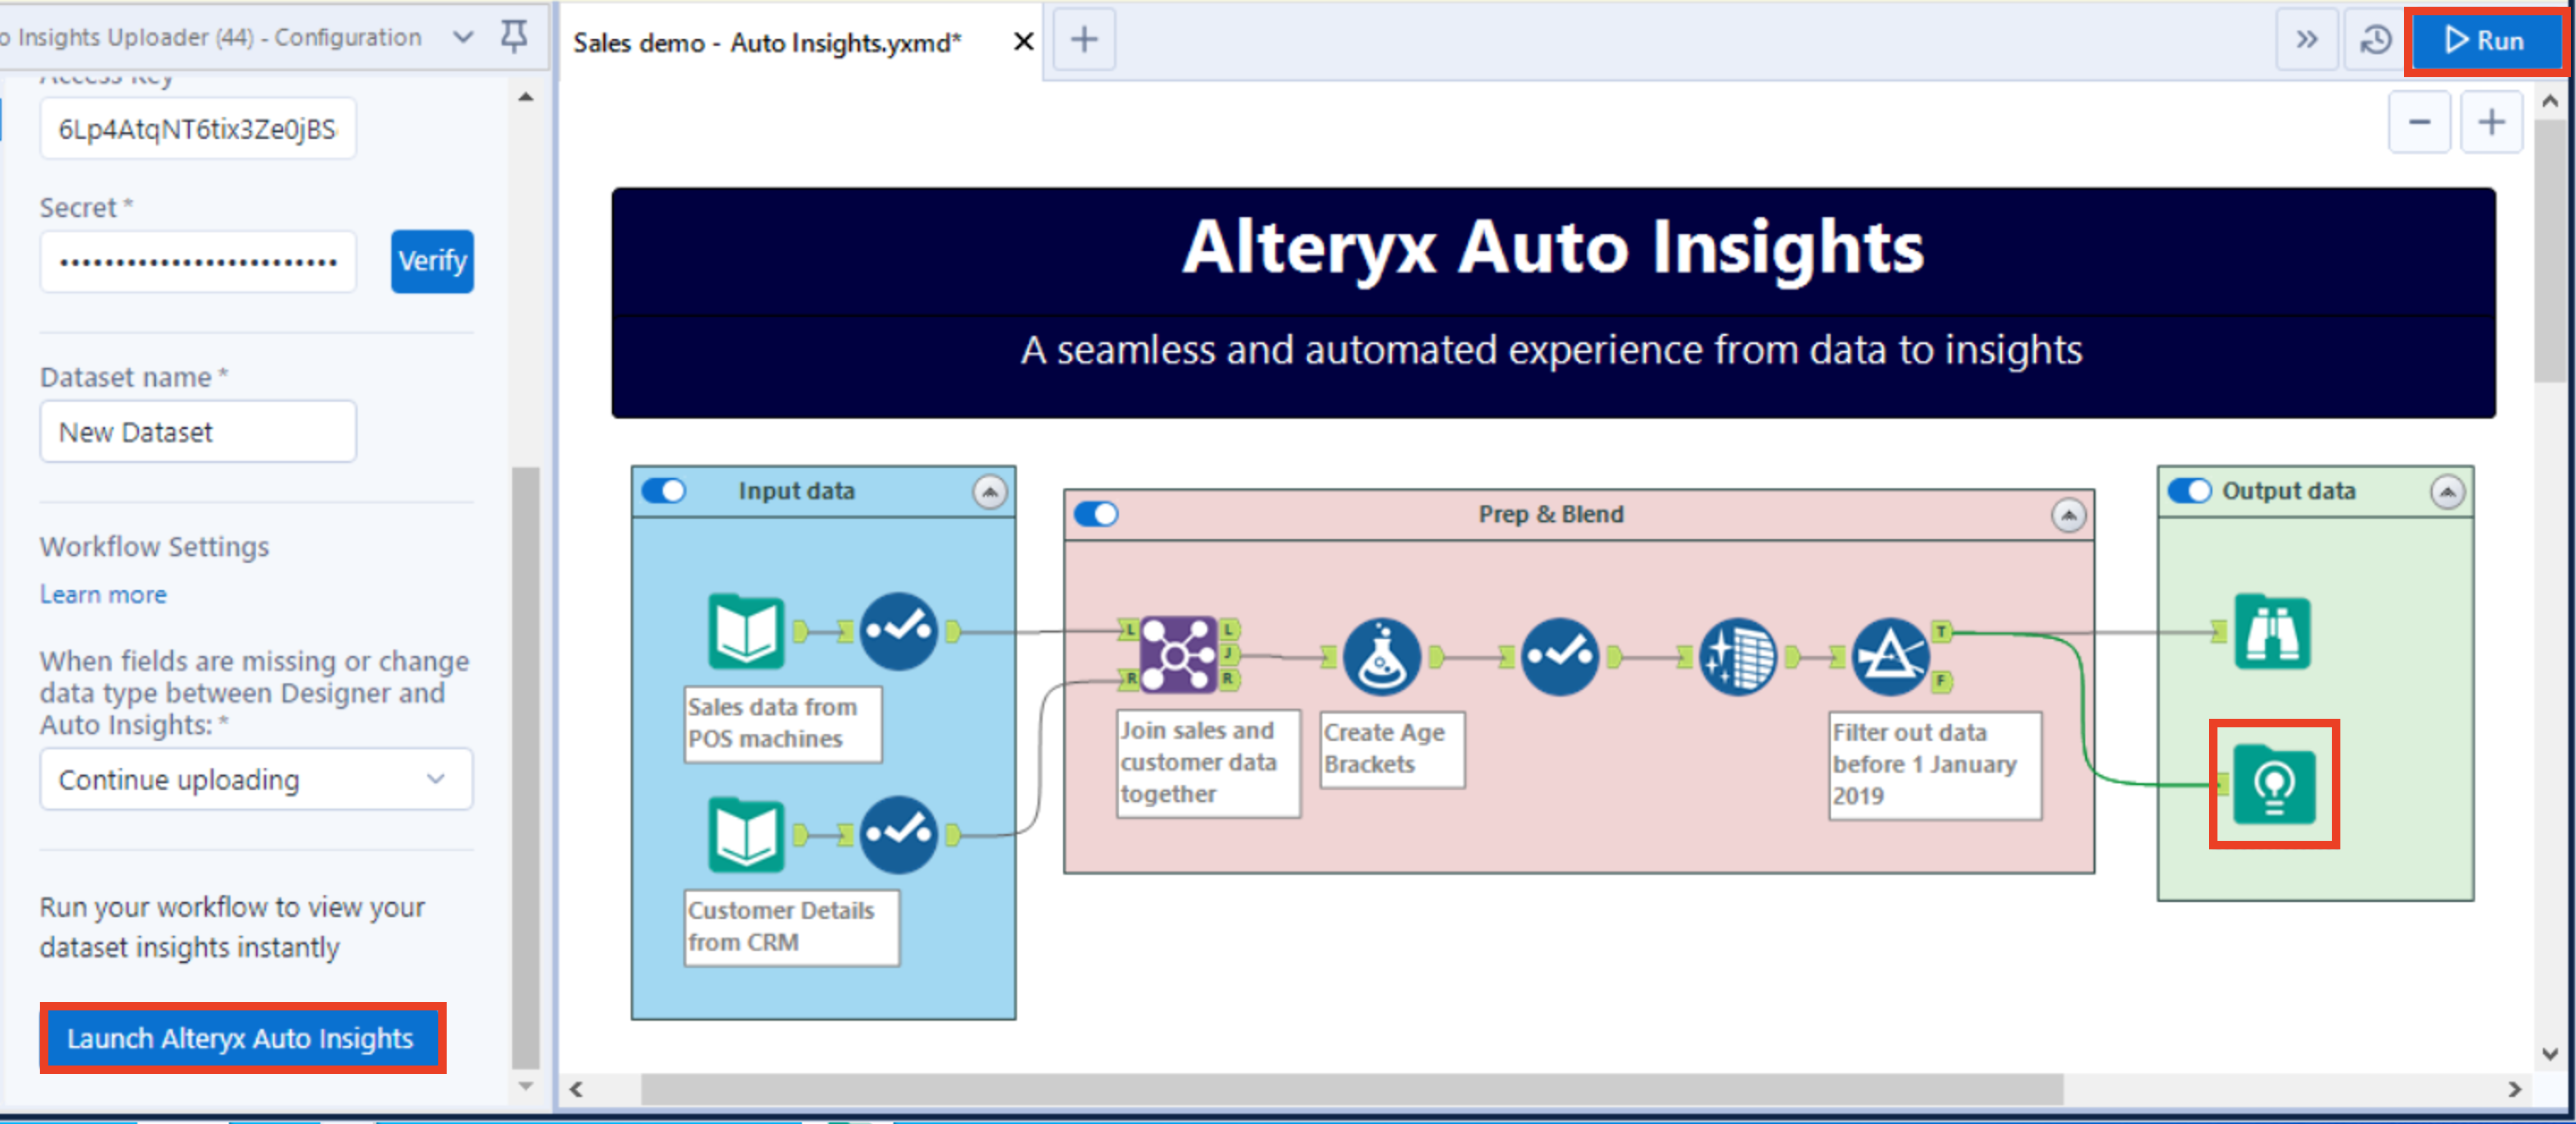
Enter a Dataset Name or select a dataset from the dropdown.
The Auto Insights Uploader Tool v1.x.213 is only compatible with Designer versions 2021.2 and 2021.3.
In Designer, go to the In/Out tool category.
Drag the Auto Insights Uploader tool onto the canvas.
In the configuration panel, enter the Host (for example, https://us1.alteryxcloud.com/auto-insights/), then select Connect. Note: To find and copy your Host, go to Alteryx One > Auto Insights > Datasets > API Tokens. Select the copy icon next to your Host. Paste into Designer.
Under API Token, select Click here to log in and create your Access Key/Secret. A sign-in window displays.
Sign in to your Auto Insights account, then select Create Token.
Paste your Access Key and Secret into the Configuration panel, then select Verify.
Enter a Dataset Name or select a dataset from the dropdown, then select Save.
Now you’re ready to build your workflow.
Add the Auto Insights Uploader tool as an output in your workflow.
Note
The Auto Insights Uploader tool only runs with AMP Engine. To use AMP Engine, go to the Workflow - Configuration panel > Runtime. Check the box Use AMP Engine.
Run your workflow to upload your dataset to Auto Insights. Go to the Dataset Requirements article for more information.
To launch Auto Insights and view your dataset insights, select Launch Auto Insights at the bottom of the tool's configuration panel.
Select the updated data source as Input in your workflow to update your dataset. Then, rerun the workflow with the dataset you want to update selected in the Auto Insights Uploader configuration.
You can save and schedule your workflows that use the AI Uploader tool to Alteryx Server versions 2021.4+ to automate the end-to-end analytics journey from data to automated insights.
Server Requirements
Server 2021.4+
AMP Engine Enabled
DCM Enabled
SDK Support Tools set to allow
For 2021.4.1 and 2021.4.2, you have to install the Auto Insights Uploader tool on Server. See the Install Custom Tools article for details. The basic steps are:
Remote desktop into Server.
Run Designer as Administrator.
Install the Auto Insights Uploader tool YXI.
To Use the AI Uploader Tool With Alteryx Server
Sync your credentials from Designer with Server. Go to Designer > File > Manage Connections to open Connection Manager. Then select Synchronize in the menu.
Go to Alteryx Server > DCM Data Sources.
Find your data source, then select the 3-dot menu > Edit. Check the box for Allow connection for SDK. Select Save and Link.
Save your workflow to Server. In Designer, select File > Save As > Alteryx Server.
In Server, either run the workflow manually or configure it to run on a schedule.
(Optional) Set up an email notification for workflow failure. See the steps to do so in this Community article.
To avoid workflow errors, you have to uninstall any bundled or installed versions of the Uploader tool before installing a new version.
To remove the bundled Uploader…
Close Alteryx Designer.
Open File Explorer.
Go to C:\Program Files\Alteryx\bin\HtmlPlugins
Delete AutoInsightsUploader.
Open Windows Explorer. Enter
%USERPROFILE%\.shivinto the search bar. The full path on your workstation displays. Right-click and delete the entire .shiv folder.
To uninstall for 1 user…
Close Alteryx Designer.
Open File Explorer.
Go to
C:\Users\YOUR_ID\AppData\Roaming\Alteryx\Tools\Delete AutoInsightsUploader.
Open Windows Explorer. Enter
%USERPROFILE%\.shivinto the search bar. The full path on your workstation displays. Right-click and delete the entire .shiv folder.
Uninstall for all users…
Close Alteryx Designer.
Open File Explorer.
Go to
C:\ProgramData\Alteryx\ToolsDelete AutoInsightsUploader.
Open Windows Explorer. Enter
%USERPROFILE%\.shivinto the search bar. The full path on your workstation displays. Right-click and delete the entire .shiv folder.