Install or Upgrade Server
Before installing and activating Server, verify your network has access to all required licensing system domains. Go to Licensing System Requirements for a complete list.
Note
Prerequisites
To install and run Server, your system has to have these prerequisites.
Review the System Requirements for Server.
Ensure the computer can contact the
whitelist.alteryx.comweb domain used by the Alteryx licensing system.Admin access to the host server's operating system or physical access to the server hardware.
Read access to Active Directory, if you plan to use Integrated Windows Authentication. Visit the Server Authentication help page to learn more about authentication options.
Read and write permissions to the file share.
Alteryx admin user.
Download Server Installation File
Download the Server product from the Alteryx One downloads portal.
Note
Starting with Alteryx Server 2026.1, installers are available only in the new Alteryx One downloads portal.
If your organization has activated an Alteryx One contract and you've been granted the Workspace Admin role, complete the steps below.
If your organization hasn’t activated an Alteryx One contract, your license administrator can request access to a limited version of Alteryx One to download installers. For more information, go to Dual Entitlements.
After activation, the administrator must assign the Workspace Admin role to the user who needs access to the Server 2026.1 or later installation. For more information, go to User Roles.
Go to licenses.alteryx.com, then select Sign in with Alteryx One.
After you sign in, select Download & Activate in the left navigation.
Select the Server tab to access the most recent installers.
Select the version of the product you want to download. The latest version is available on the New Versions tab. Access previous versions on the Previous Versions tab.
On the Downloads page, select the plus icon next to Alteryx Server to display a description of the product.
Select the link for the Alteryx Server product in the File Name column to download the file.
Install Server
Run the Alteryx Server Installer with admin rights. (Right-click and select Run as administrator.)
Confirm the destination folder and select Next.
Check the I accept the license agreement checkbox and select Next.
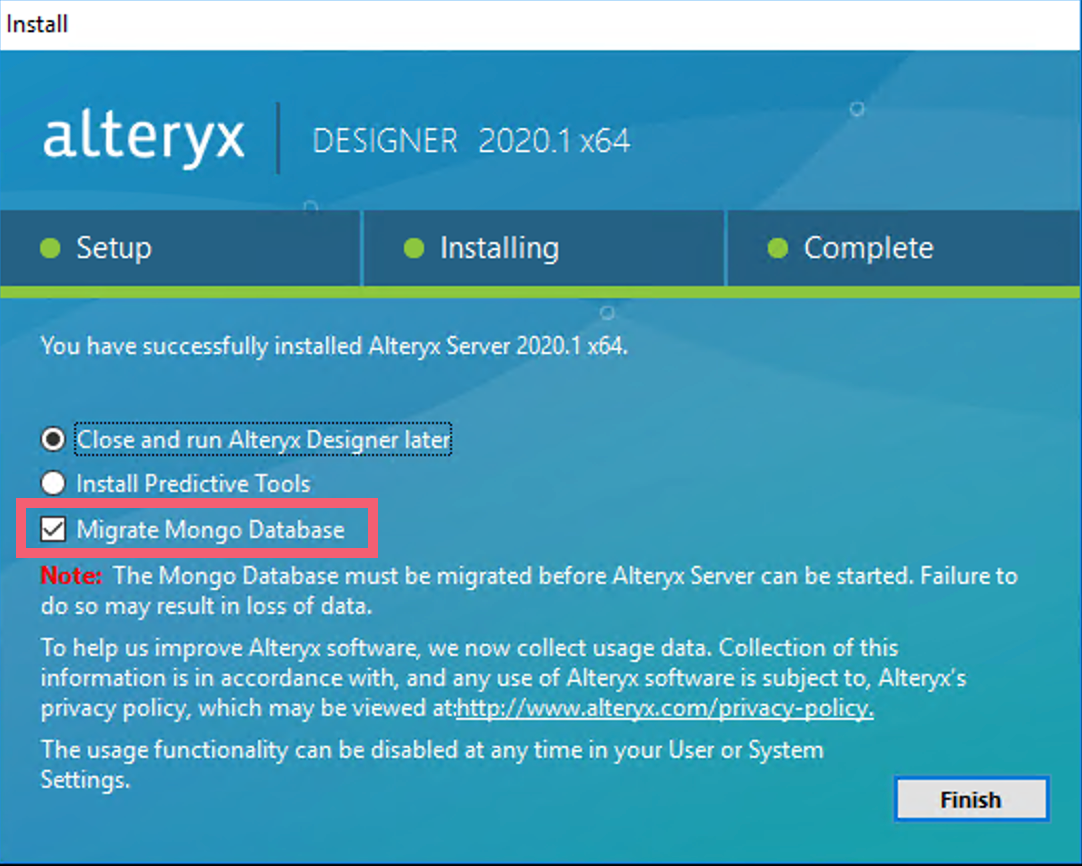
Select 1 of these options and select Finish.
Configure Server now: Opens the System Settings window to configure Server.
Close and run Alteryx Designer later: Closes the installation window. Access the system settings at any time via the Alteryx System Settings desktop icon.
Install Predictive Tools: Installs the predictive tools in Designer. The predictive tools use R, an open-source programming language used for statistical and predictive analysis. Select this option to launch the R installer. You have to install the predictive tools to use the predictive macros in Designer. To install at a later time, go to Options > Download Predictive Tools in Designer.
Important
We recommend you install all Server components on a separate, physical drive (for example, D:) from the OS install. To avoid latency, use a local, solid-state drive not a network drive. Assign all workspaces and directories to use the same drive as the installation.
Benefit: This minimizes input/output contention with OS operations.
License Your Server
If you haven't licensed your Server, you are prompted to do so. Use the license key from your license administrator to activate a product license. If the license prompt doesn't immediately load, you can access it in Designer under Options > Manage Licenses > Activate New License.
To activate Server online, refer to Activate License Online with Alteryx One.
As an alternative to online activation, you can submit a request for an activation (BIN) file. If you want to activate with a file, select Activate with File to open the Alteryx Offline Activation window.
Step 1. Create a Request (REQ) File from the Offline Computer
Open Designer. If the Alteryx Designer Activation window doesn't open, select Options > Manage Licenses > Activate New License.
Select Activate Offline.
In the Alteryx Offline Activation window, select Create in the Request step to create a request (REQ) file.
Enter your First name, Last name, Email address, and your License keys.
Select Create request. Alteryx creates a request file with your email address and REQ extension as shown in this example:
email@company.com.reqSelect Save to save the request (REQ) file where it can be accessed from the Alteryx Downloads and Licenses portal or send the file to your license administrator.
Step 2. Upload the Request File to the Alteryx Downloads and Licenses Portal
Important
This step requires internet access.
Sign in to the Alteryx Downloads and Licenses portal at licenses.alteryx.com.
On the Home page, select Upload Activation Request.
Select Browse and select the request (REQ) file you saved in the previous step.
The Alteryx Downloads and Licenses portal generates an activation file with your email address and BIN extension as shown in this example:
email@company.com.binSave the activation (BIN) file so that you can access it from the offline computer.
Step 3. Open the Activation (BIN) File on the Offline Computer
In the Alteryx Designer Activation window on the offline computer, select Back. Or, select Options > Manage Licenses > Activate New License to open the Alteryx Offline Activation window.
Select Browse and select the activation (BIN) file.
In the Activation Success window, select Start Solving.
The Alteryx License Server allows for the hosting and managing of purchased product licenses within an organizations' internal network. The license server allows for smoother and more-secure deployment of Alteryx products, especially behind proxies and firewalls. Download the license server from the Alteryx Downloads and Licenses portal at licenses.alteryx.com.
Open Designer. If the Alteryx Designer Activation window doesn't open, select Options > Manage Licenses > Activate New License.
Note
If you don't have valid licenses, the license server displays Install License. Select OK to continue.
Select the here link within To access your License Server, click here text. The license server displays Manage Licenses.
In License Server Connectivity, select Connect. The license server displays available licenses. If this is the first time you have activated a license, enter your email address.
Select Activate for each product you want to activate.
Select Close.
For more help including command line options, go to Product Activation and Licensing Help.
Upgrade Server
Important
Complete the Server Upgrade Checklist.
Check the Version-to-Version Server Upgrade Guide: Supported Versions. This document highlights tasks and changes you need to be aware of when upgrading through versions of Alteryx Server.
For unsupported versions, go to Version-to-Version Server Upgrade Guide: Unsupported Versions.
Note
Migration Prep Tool
To use the latest and best cryptography throughout Server to protect data at rest and data in flight, you now have a way to get your crypto migrated to the most modern algorithms without taking a lot of downtime and interrupting your business.
To move to more modern crypto (FIPS capable), we at Alteryx prepared a Migration Prep Tool to mitigate the maintenance window downtime that you require to get all your workflows migrated to the new crypto standard.
For more information about this tool, visit the Migration Prep Tool help page.
Important
When you upgrade to Server version 2022.1, we recommend validating your engine choice settings and resource allocations. The new 'Allow Server to manage workflows running simultaneously' functionality, and the change to enable AMP by default, can result in settings changing in your environment.
If you have an existing Server and want to maintain your current system settings, please read these instructions before upgrading.
1. Controller > General > Enable AMP Engine
1. Before upgrading, note your current settings.
2. After upgrading, restore the selection to your desired value.
2. Worker > General > Allow Server to manage workflows running simultaneously
1. Before upgrading, note the number set for ‘workflows allowed to run simultaneously’.
2. After upgrading, deselect ‘Allow Server to manage workflows running simultaneously’.
3. Input the number you saved for ‘workflows allowed to run simultaneously’.
3. Engine > General > Engine
1. Before upgrading, note your current settings.
2. After upgrading, restore the selection to your desired value.
4. Engine > General > Run engine at a lower priority
1. Before upgrading, note your current settings.
2. After upgrading, restore the selection to your desired value.
Follow these steps to upgrade to a newer Server version:
Stop the AlteryxService.
Open Task Manager.
Select the Services tab.
Locate the AlteryxService.
Right-click and select Stop.
Perform a backup of the MongoDB. Go to MongoDB Backups.
Follow the download and install steps to upgrade to a newer version of Server.
If you are upgrading to a Server version that uses another MongoDB version, select Migrate Mongo Database to run the migration utility during the install process to update the MongoDB version. Go to the MongoDB Schema Reference for a table showing what MongoDB versions correspond with Server versions.
The Alteryx Service should automatically start after the upgrade. The AlteryxService has to be running to access the Server. If you can't access Server, confirm the Alteryx Service has restarted.
Migration Performed by the Service When First Starting after Upgrade
When the Service first starts after upgrade, it migrates any workflows not already migrated by the Migration Prep Tool as well as additional MongoDB collections and the RuntimeSettings.xml file. This progress is logged to AlteryxServiceMigrator_#.log in the folder specified by Alteryx System Settings > Controller > Logging.
The RuntimeSettings.xml file is backed up to RuntimeSettings.22_2_legacy.xml during this process. If you choose to rollback your upgrade, you should replace RuntimeSettings.xml with RuntimeSettings.22_2_legacy.xml to restore the file to its pre-upgrade state.
Note that the cryptography migration only happens when upgrading to or through version 2022.3.
Open Task Manager.
Select the Services tab.
Locate the AlteryxService.
Confirm the Status shows Running.
If the Status shows Stopped, right-click and select Start.
What's Next?
Configure Server from the System Settings.